Page 10 of 17

Mr Underhill of the Shire

When the Lord of the Rings films came out, (really? over 10 years ago?) my flatmate decided to have a fancy dress party for her birthday.

You may never have lived with two people at art college and a computer scientist with a good memory and an eye for detail, so let me describe the scene…

We decorated every room as a different location, complete with a round paper doorway for the Shire (the kitchen, of course), the entrance to Moria with carvings (a triumphant moment in LYM’s artistic career), and crepe paper and photocopied faces on the shower screen to turn the bathroom into the Dead Marshes. We painted a huge Eye of Sauron on the front room window which stayed up for months because it was a pain to chip off.

It comes in pints? hand embroidered hoop - Misericordia 2014

Because of this (and a subsequent pie and films marathon), I have a bit of a soft spot for the films.

It comes in pints? hand embroidered hoop - Misericordia 2014

So perhaps you’ll forgive my indulgence in presenting on my my favourite quotes.

(Click the photos to see the full listing.)

An Illustration in Watercolour and Embroidery

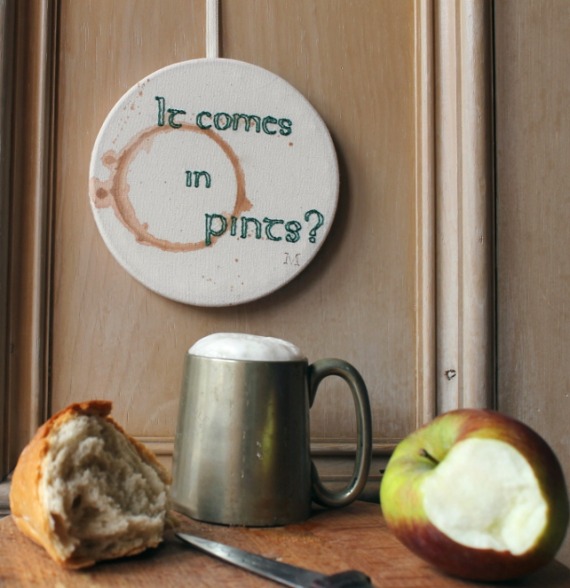
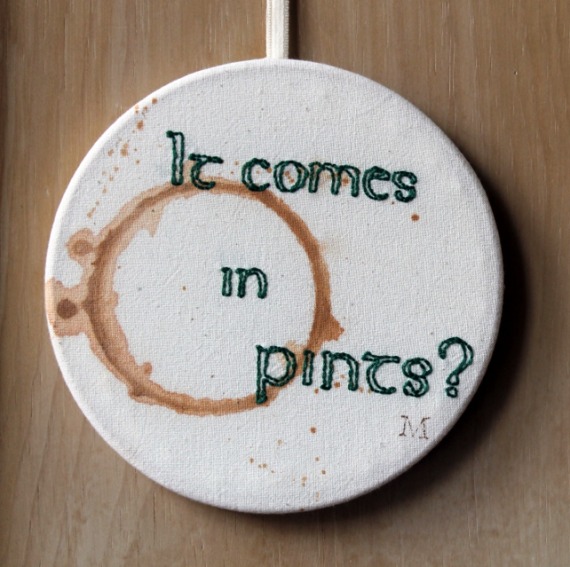
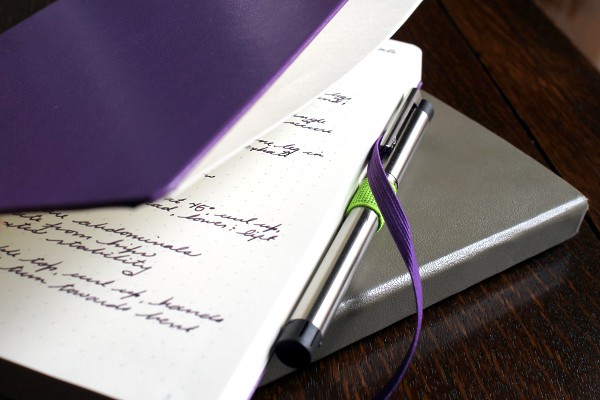
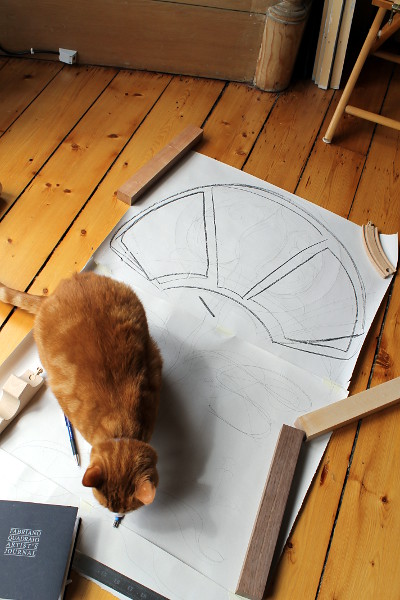
I thought I’d put together a tutorial showing you how to use watercolour with embroidery. I used this technique to make a present for my dad and I enjoyed it so much that it will shortly be making an appearance in more of my work.

As a starter for ten (as they say), I copied an illustration so I only had to think about being faithful to the original, rather than worrying about composition and colours and balance.
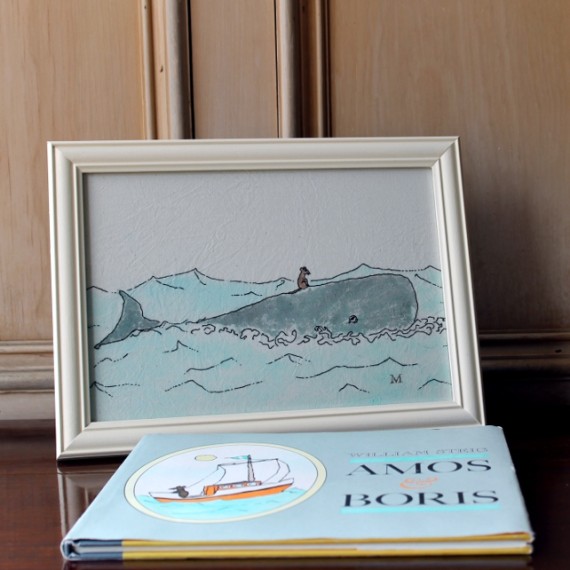
Choose your image:

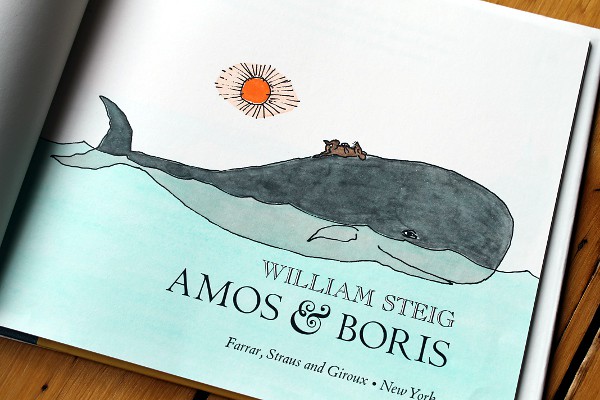
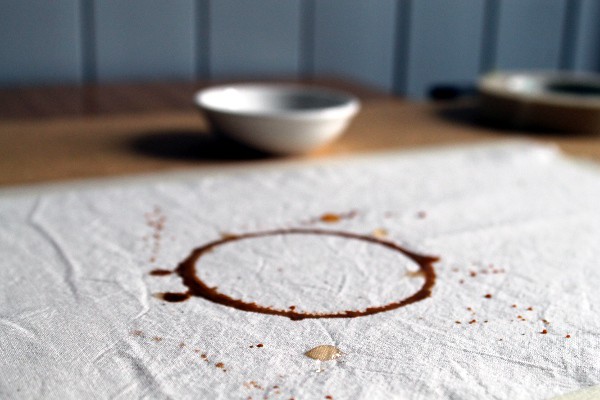
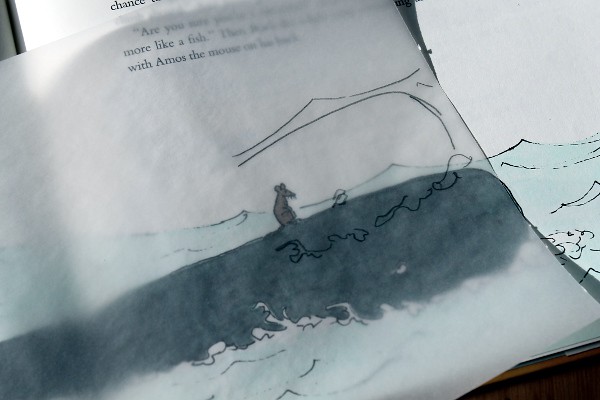
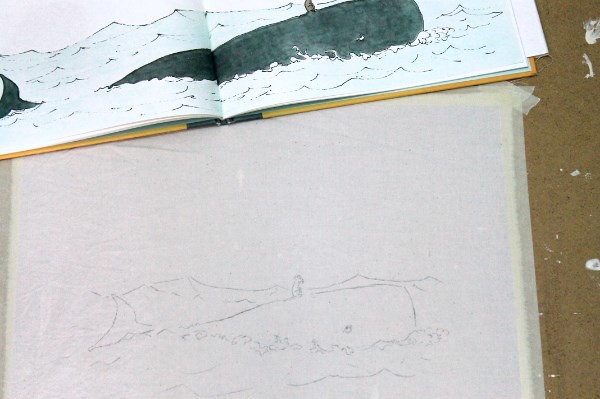
I chose the William Steig illustration from Amos and Boris below. It had a lovely wash-y sea and not too many colours to work with. I also thought that I could recreate the skips and skitters of the pen marks in embroidery quite effectively.

Trace:

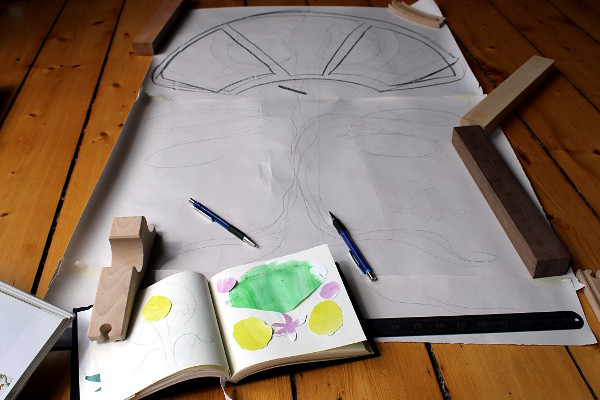
Work out how you’re going to present your piece when it’s finished. I framed mine, which gave me an idea of the size it needed to be. Watercolour doesn’t stand up to frequent washing, so keep the item’s final use in mind (not so good for a baby blanket). I had to make some adjustments to the illustration so that it would fit into the frame, but the nice thing about working onto tracing paper is that you can try things out before you commit to drawing the final lines.
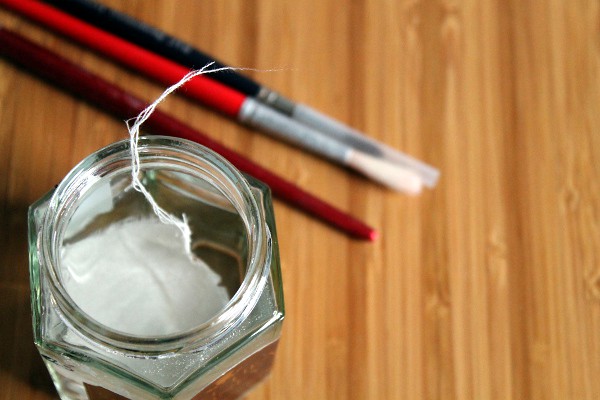
Copy onto fabric:

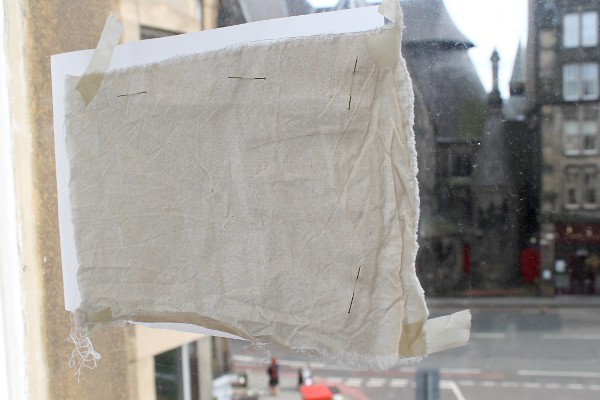
I use a super high-tech method for transferring my designs onto fabric. Pin your fabric to the front of your paper (if you used pencil, it’s a good idea to go over the lines with a dark pen). Tape the fabric and paper to a window and trace in light pencil, stopping for a rest when your arms go numb.
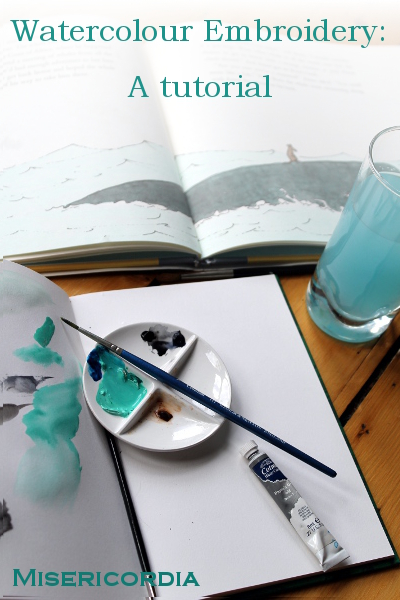
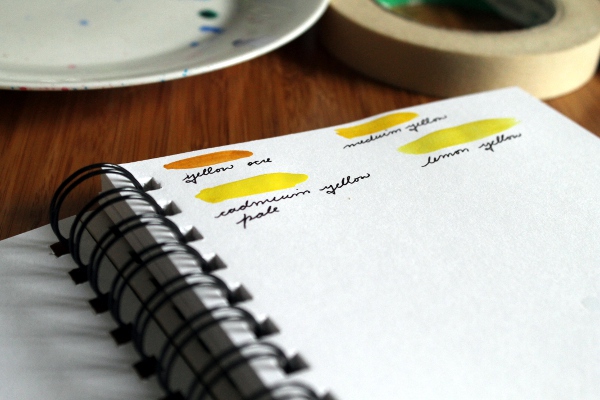
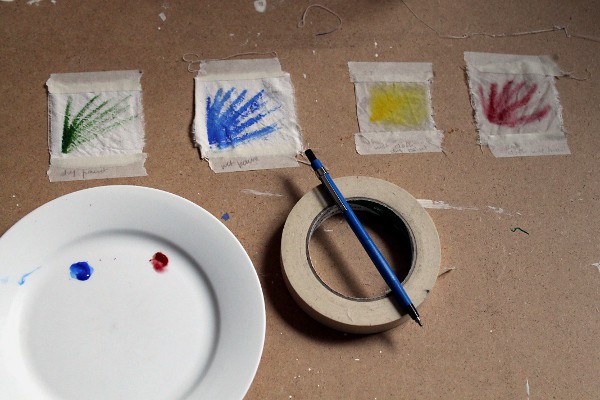
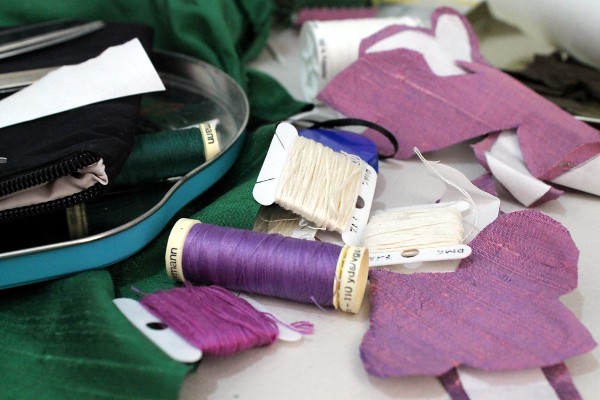
Mix your colours:

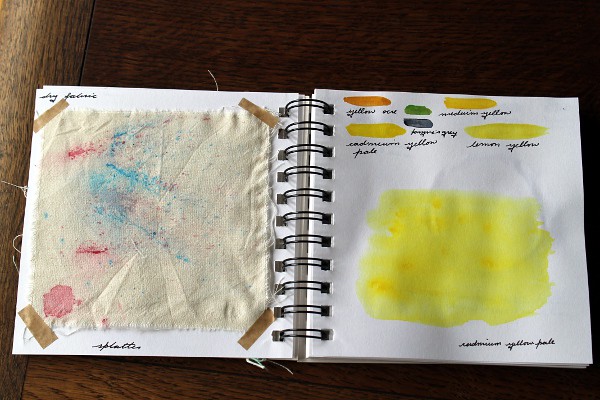
For this piece I pre-mixed my colours, I knew I had a lot of sea to colour and I didn’t want to end up with half the piece a slightly different shade than the other. I was also a little worried about getting just the right colour of sea-turquoise.


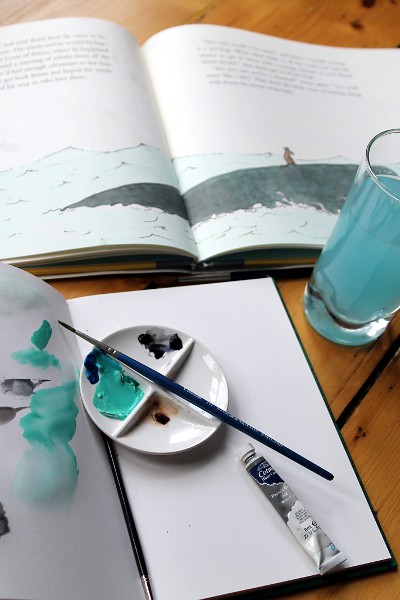
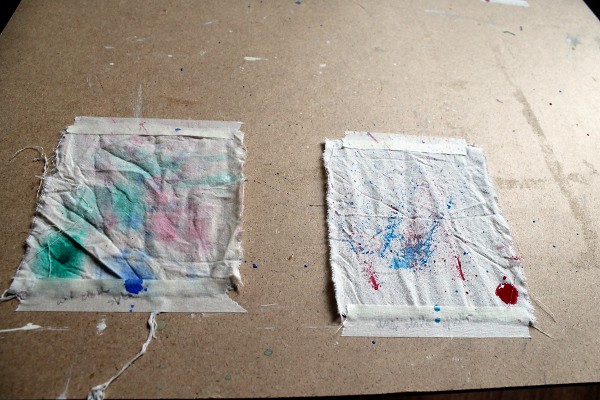
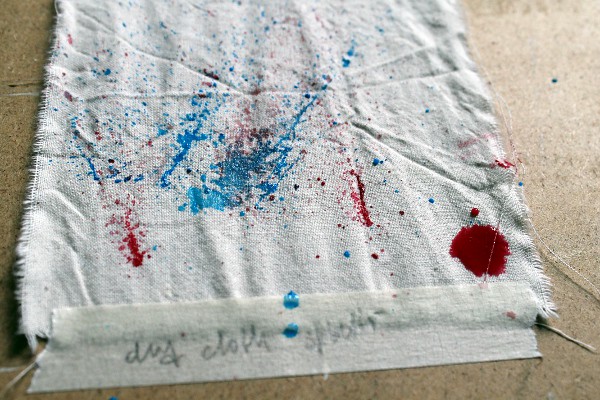
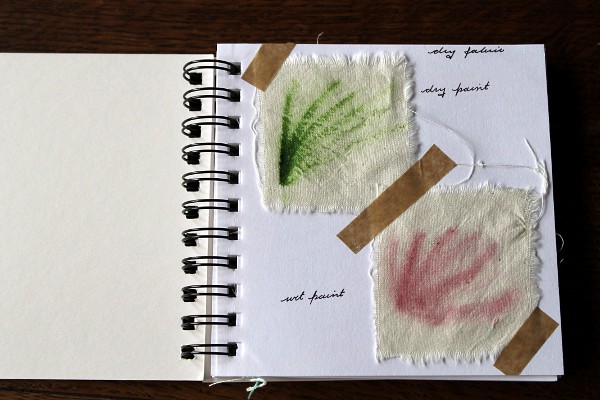
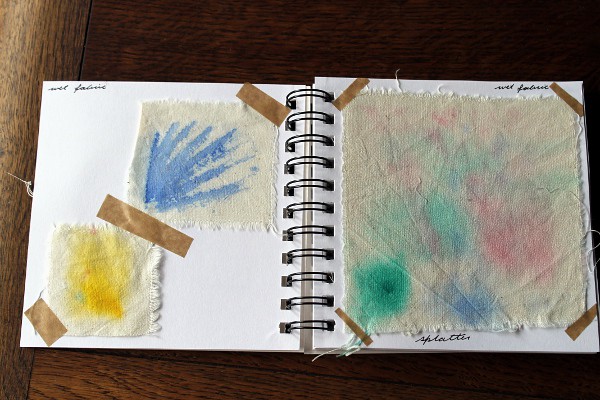
Fabric, even when it’s been pre-washed, absorbs watercolour differently than paper, so play about with a scrap to get used to it. The paint sits on top of the fabric for longer, so there’s time to dab off mistakes with a clean rag, but remember that some of the paint will wash away when you wash it, so err on the dark side (in this instance only).


Tape your fabric securely to a firm surface. It takes a few hours for the paint to dry, so make sure you have a flat surface to keep your board on while the paint dries.

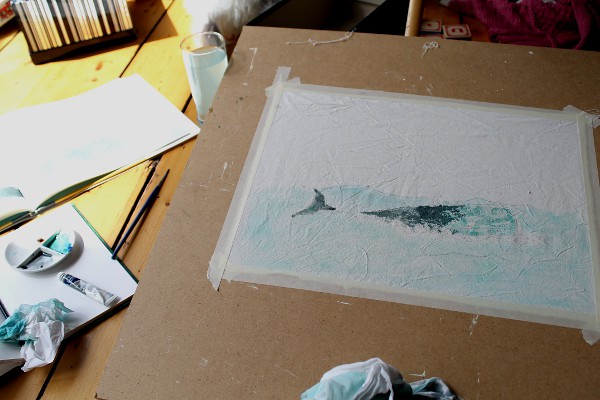
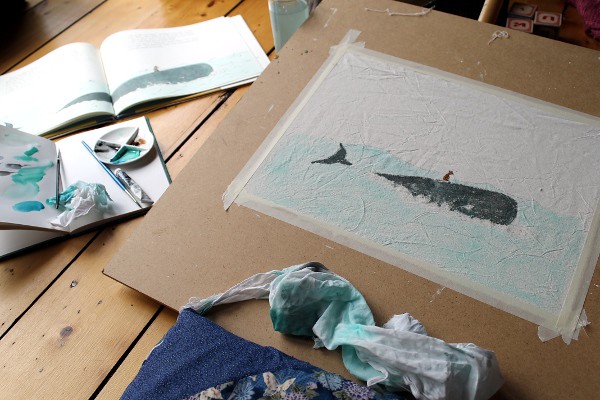
I was surprised at how long it took to cover the surface with paint, so make sure you leave plenty of time and don’t rush yourself.

Set the colours:

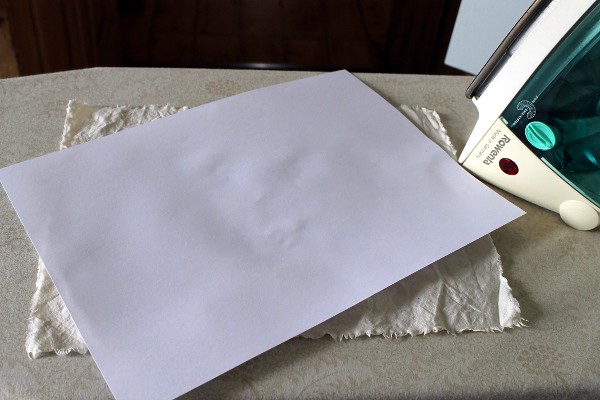
Once the paint dries, iron it to heat-set the colours. Use an iron which is as hot as the fabric allows, but make sure to put a white sheet of paper between your fabric and iron, in case a little paint transfers. (In the interests of science, I have to admit that I haven’t tried a control piece where I didn’t iron the fabric, but fabric paints are generally heat set, so it makes me feel more secure.)
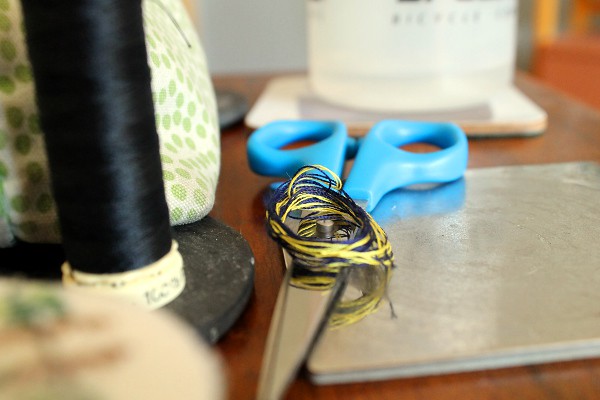
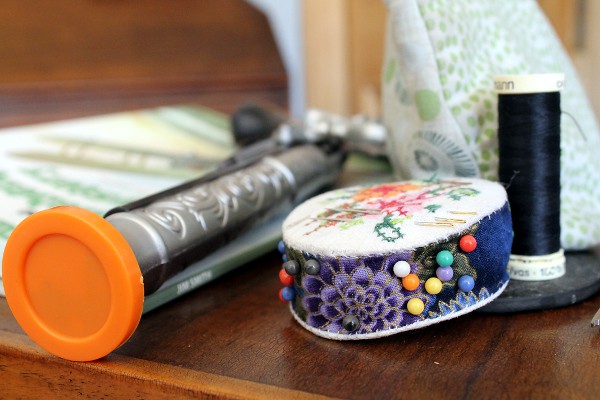
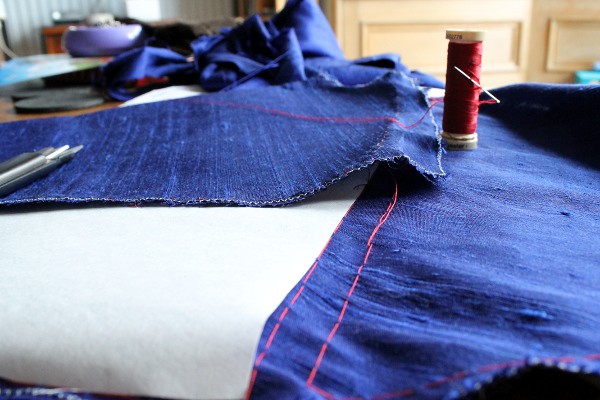
Stitch:

Now it’s time to get the threads out. Play with stitches, thread thickness and colours until you get the feel you’re after. If you’re using a lot of outlines or shading, look closely at how the artist used thickness and direction of marks to ensure you keep the feeling of immediacy that can sometimes be lost in the translation between drawing and embroidery.

One more tip, consider that sometimes a very dark brown, gray or blue will look better than black against the watercolours. Be brave!

Wash, starch and frame:

When you’re done stitching, it’s time to give your piece a wash and a starch before framing it. Use the coldest water you can, add vinegar or salt to the water and if it looks too light in places, you can always touch up the watercolours once the piece is stretched.

wamos book
I hope you’ve enjoyed this tutorial, I’d love to see any pieces you make with it and please let me know if you have any questions.

Many Hands and Happy Returns

Misericordia Mansions has been a hive of activity this week, but not of the usual kind.

Piles appear on all available flat surfaces, surmounted with shopping and to do lists.

We even get the apprentices involved (trousers – not seen).

All for a rather special event this weekend.

Not everyone has been quite so carried away with preparations…

With a New Brush

wamos book

Ever since I made the Amos and Boris piece,

I’ve been itching to try some more watercolour embroideries.

watercolour 5

So, with the help of a new sketchbook (naturally), I thought I’d make myself a swatch book and play with some ideas and techniques.

I think my favourite is dry-ish paint on dry fabric. I like the way you see the varying amounts of absorbtion and dilution, a nice contrast from the relatively controlled feeling of the stitching (which is a little absent in these swatches).

So keep your eyes peeled for the next watercolour piece, and a wee tutorial in case you’re inspired to try it yourself.

Clearing the Decks

I am not a naturally tidy person.

My personality allows me a great deal of initial enthusiasm for projects, but frequently by the time I get to the end, there isn’t quite enough left to get me through the removal of the detritus from the project in hand.

However, the first of the ark project deadlines has been met and my poor Hovel was less of a haven and more of a disaster zone.

drawer labels

So today (at least) I’m embracing the quieter virtues and putting things to rights…at least until I stir them all up again for the next round.

Even if my inspiration has to come buttered.

Morningside Makers Market this Saturday, 6th September

Happy September everyone!

I hope you had a wonderful summer and are feeling full of the joy that only new notebooks and pens can provide.

This one is a present to myself for passing my Pilates Equipment exam, which has been the source of much anxiety around Misericordia Mansions since June.

In a very organised moment last year, I booked myself in for a whole year’s worth of craft fairs and next one is on Saturday. I will be at the Morningside Makers Market and I’d love to see you there!

If you’ve got your diary handy, all the dates for all the craft fairs are here.

Cutting and Counting

I’m still in the muddly bit of the ark project where I know where I’m going but it doesn’t look the way I want it to. I’m going to be a little coy about it for that reason and just keep up the still lives of work in progress.

Paperwork

I’m in the midst of designing and making two complete sets of Torah appurtenances – Torah mantle, ark curtain and bimah cover. As usual with these things, there is a rather pressing deadline so I’m in a bit of a scramble to get things ready before we go on holiday (where I am, hopefully stitching away happily, as you read this).

I thought it might be nice to see what it looks like when I work on a larger scale – I’ve got used to being able to work on a nice civilised kitchen-table scale, but this time I’ve got rolls of paper everywhere and I’ve commandeered the train sidings, much to the disapproval of the station manager.

kipling makes art

I’m sure I’ll be writing more about it, but for now, here is the first installment of the photo diary.

Copyright © 2025 Misericordia

Theme by Anders NorenUp ↑