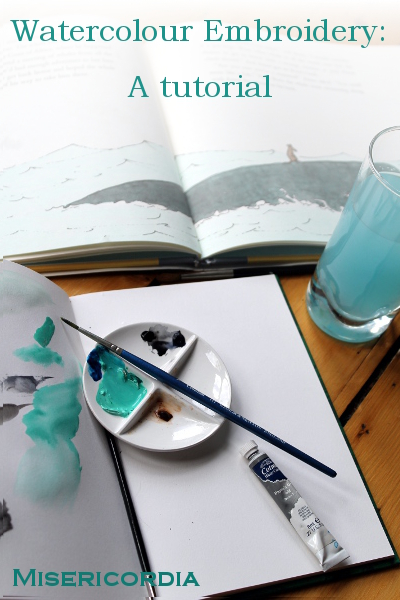
I thought I’d put together a tutorial showing you how to use watercolour with embroidery. I used this technique to make a present for my dad and I enjoyed it so much that it will shortly be making an appearance in more of my work.
As a starter for ten (as they say), I copied an illustration so I only had to think about being faithful to the original, rather than worrying about composition and colours and balance.
Choose your image:
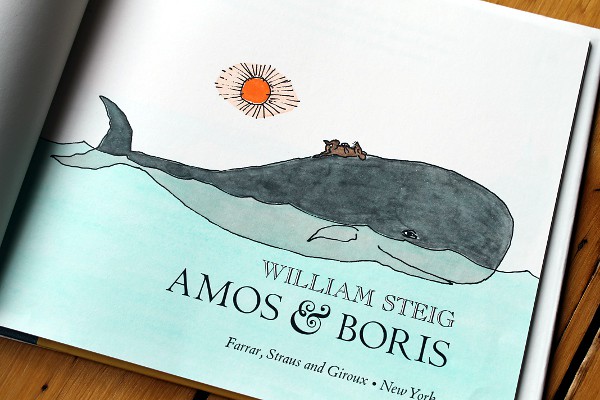
I chose the William Steig illustration from Amos and Boris below. It had a lovely wash-y sea and not too many colours to work with. I also thought that I could recreate the skips and skitters of the pen marks in embroidery quite effectively.

Trace:
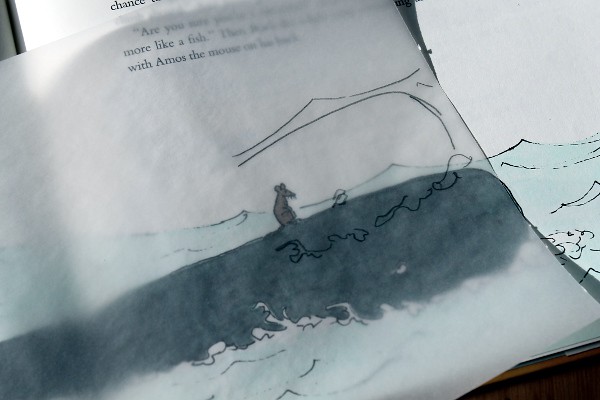
Work out how you’re going to present your piece when it’s finished. I framed mine, which gave me an idea of the size it needed to be. Watercolour doesn’t stand up to frequent washing, so keep the item’s final use in mind (not so good for a baby blanket). I had to make some adjustments to the illustration so that it would fit into the frame, but the nice thing about working onto tracing paper is that you can try things out before you commit to drawing the final lines.
Copy onto fabric:
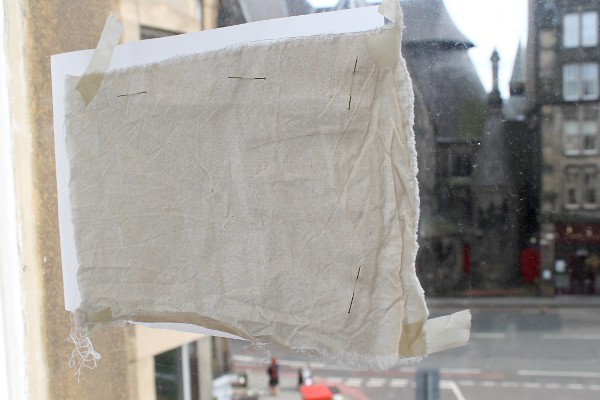
I use a super high-tech method for transferring my designs onto fabric. Pin your fabric to the front of your paper (if you used pencil, it’s a good idea to go over the lines with a dark pen). Tape the fabric and paper to a window and trace in light pencil, stopping for a rest when your arms go numb.
Mix your colours:

For this piece I pre-mixed my colours, I knew I had a lot of sea to colour and I didn’t want to end up with half the piece a slightly different shade than the other. I was also a little worried about getting just the right colour of sea-turquoise.
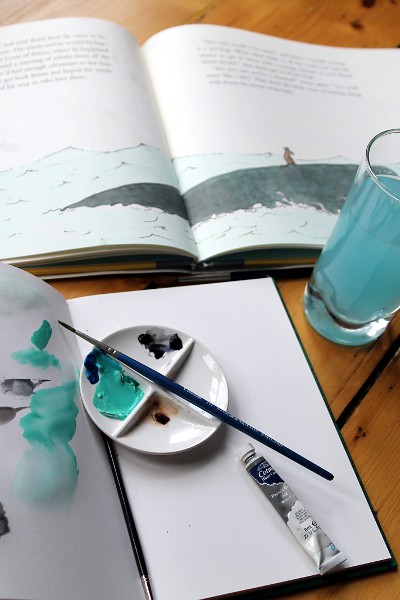
Fabric, even when it’s been pre-washed, absorbs watercolour differently than paper, so play about with a scrap to get used to it. The paint sits on top of the fabric for longer, so there’s time to dab off mistakes with a clean rag, but remember that some of the paint will wash away when you wash it, so err on the dark side (in this instance only).
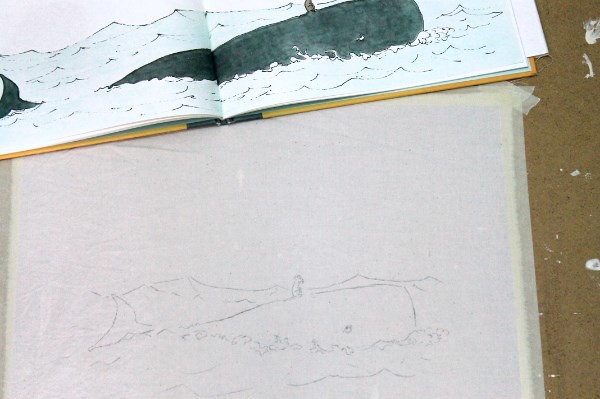
Tape your fabric securely to a firm surface. It takes a few hours for the paint to dry, so make sure you have a flat surface to keep your board on while the paint dries.
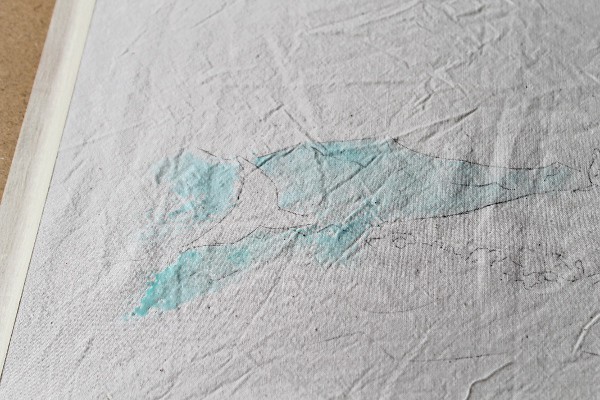
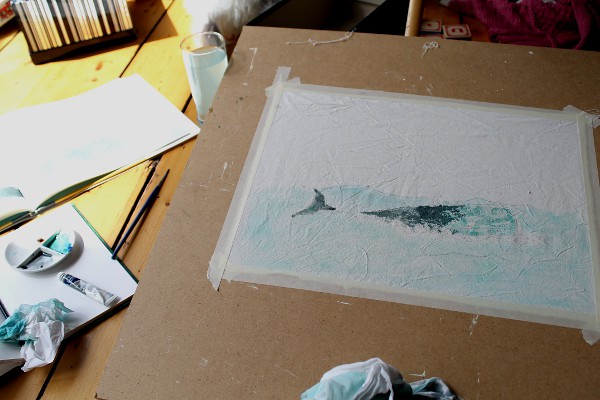
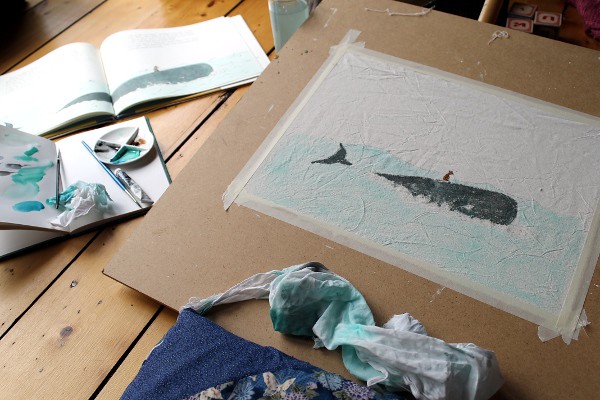
I was surprised at how long it took to cover the surface with paint, so make sure you leave plenty of time and don’t rush yourself.
Set the colours:
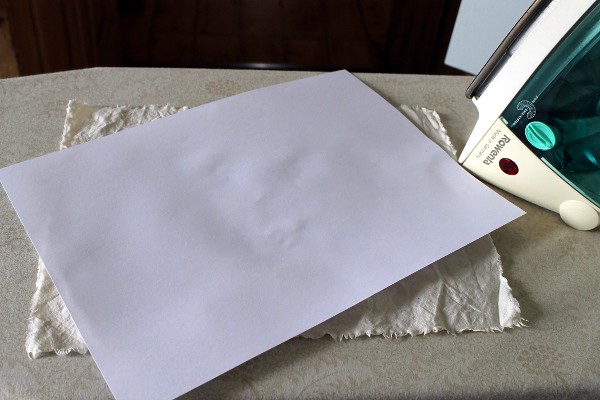
Once the paint dries, iron it to heat-set the colours. Use an iron which is as hot as the fabric allows, but make sure to put a white sheet of paper between your fabric and iron, in case a little paint transfers. (In the interests of science, I have to admit that I haven’t tried a control piece where I didn’t iron the fabric, but fabric paints are generally heat set, so it makes me feel more secure.)
Stitch:

Now it’s time to get the threads out. Play with stitches, thread thickness and colours until you get the feel you’re after. If you’re using a lot of outlines or shading, look closely at how the artist used thickness and direction of marks to ensure you keep the feeling of immediacy that can sometimes be lost in the translation between drawing and embroidery.
One more tip, consider that sometimes a very dark brown, gray or blue will look better than black against the watercolours. Be brave!
Wash, starch and frame:
When you’re done stitching, it’s time to give your piece a wash and a starch before framing it. Use the coldest water you can, add vinegar or salt to the water and if it looks too light in places, you can always touch up the watercolours once the piece is stretched.
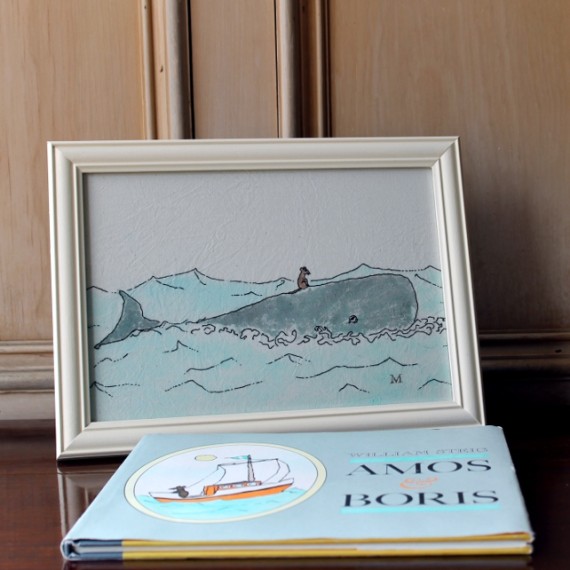
I hope you’ve enjoyed this tutorial, I’d love to see any pieces you make with it and please let me know if you have any questions.
