Category: Tools and Techniques

Crepuscular – active at twilight

What’s your favourite word?

Here’s mine:

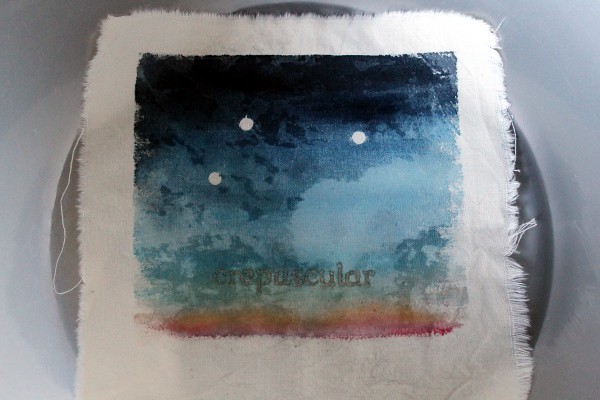
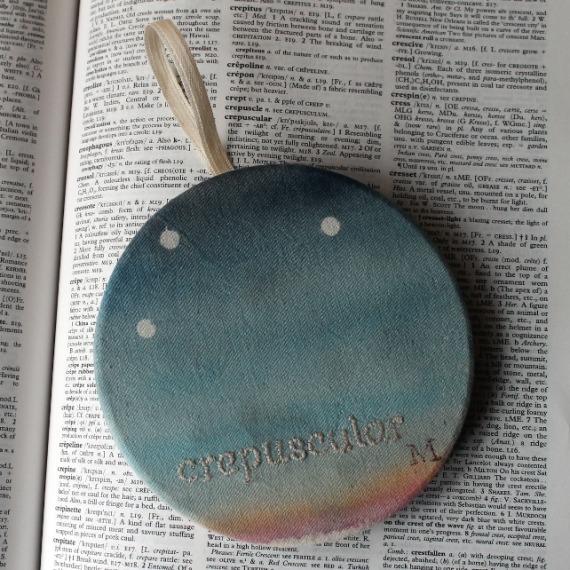
Crepuscular - hand painted and embroidered hoop art - Misericordia 2014

HaggardHawks (otherwise known as Paul Anthony Jones – author of Haggard Hawks and Paltry Poltroons) put out a call for favourite words for World Dictionary Day and it gave me a chance to make a piece I’ve been wanting to make for ages.

Crepuscular means active at twilight, and it mainly refers to animals…and children. It was a rather weary refrain from my mother when I was a child, and I have to say that I have found myself sighing it to myself in similar circumstances at the moment. As if that weren’t enough, Kipling has a bit of a crazy half hour around bedtime too, so we have a full house of crepuscular creatures!

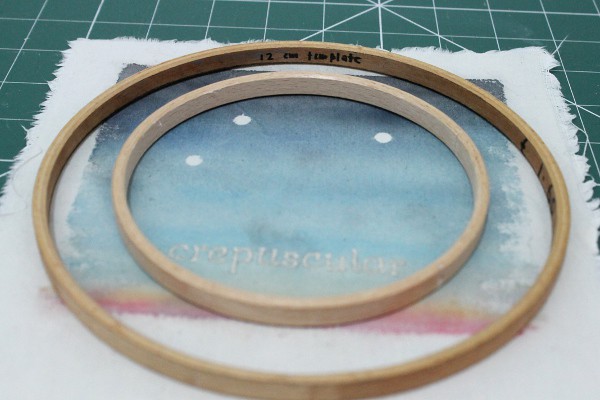
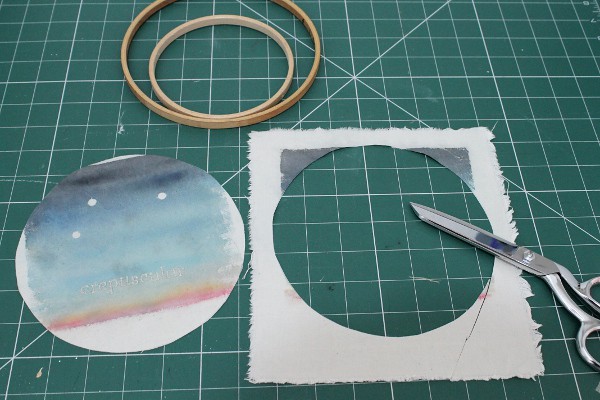
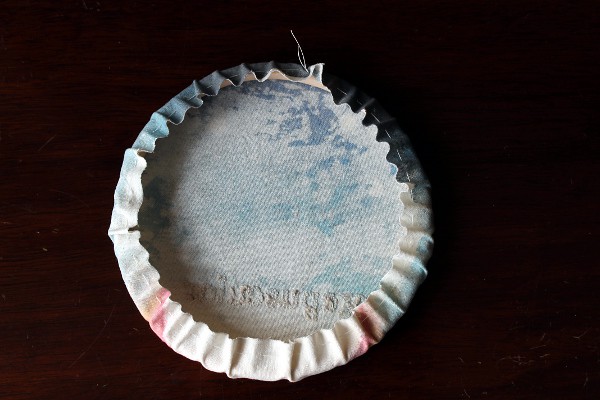
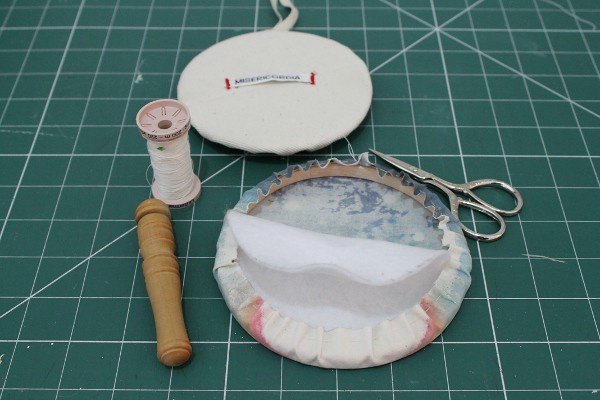
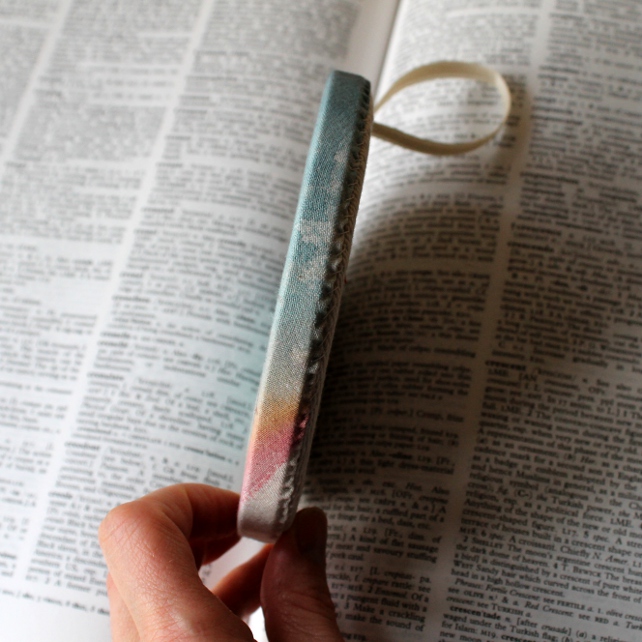
I thought you might like to see how hoops get turned from flat embroideries to hoops, so here’s a little factory tour, enjoy!


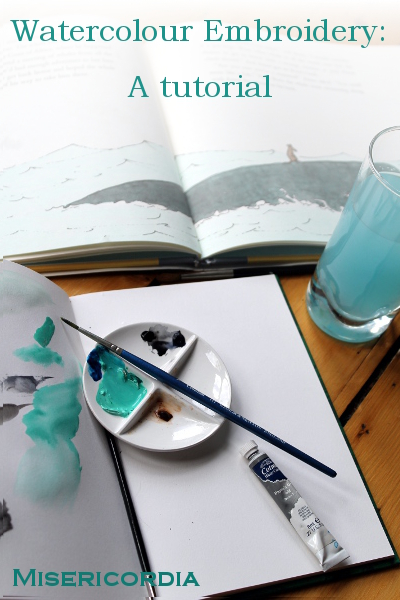
An Illustration in Watercolour and Embroidery

I thought I’d put together a tutorial showing you how to use watercolour with embroidery. I used this technique to make a present for my dad and I enjoyed it so much that it will shortly be making an appearance in more of my work.

As a starter for ten (as they say), I copied an illustration so I only had to think about being faithful to the original, rather than worrying about composition and colours and balance.

Choose your image:
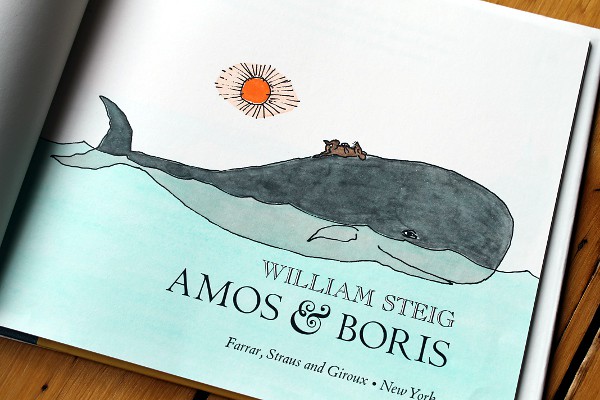
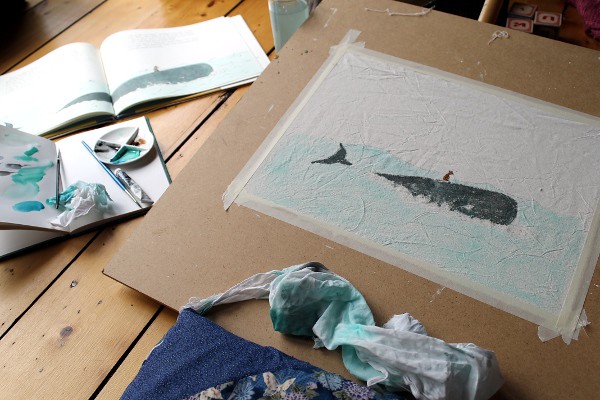
I chose the William Steig illustration from Amos and Boris below. It had a lovely wash-y sea and not too many colours to work with. I also thought that I could recreate the skips and skitters of the pen marks in embroidery quite effectively.

Trace:
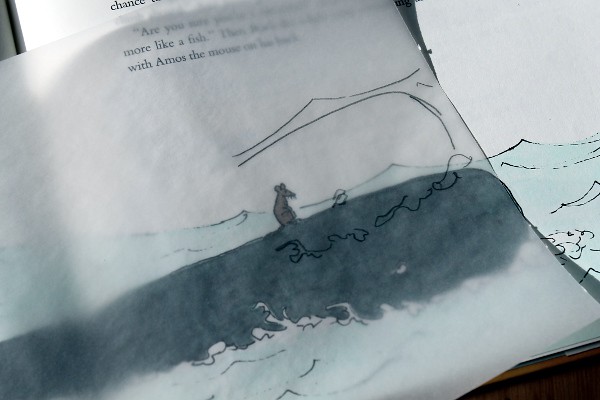
Work out how you’re going to present your piece when it’s finished. I framed mine, which gave me an idea of the size it needed to be. Watercolour doesn’t stand up to frequent washing, so keep the item’s final use in mind (not so good for a baby blanket). I had to make some adjustments to the illustration so that it would fit into the frame, but the nice thing about working onto tracing paper is that you can try things out before you commit to drawing the final lines.

Copy onto fabric:
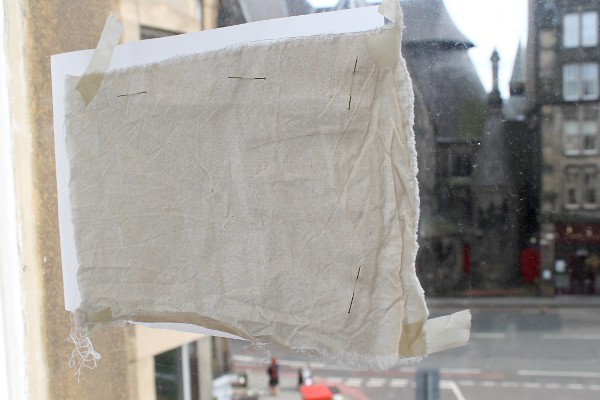
I use a super high-tech method for transferring my designs onto fabric. Pin your fabric to the front of your paper (if you used pencil, it’s a good idea to go over the lines with a dark pen). Tape the fabric and paper to a window and trace in light pencil, stopping for a rest when your arms go numb.

Mix your colours:

For this piece I pre-mixed my colours, I knew I had a lot of sea to colour and I didn’t want to end up with half the piece a slightly different shade than the other. I was also a little worried about getting just the right colour of sea-turquoise.
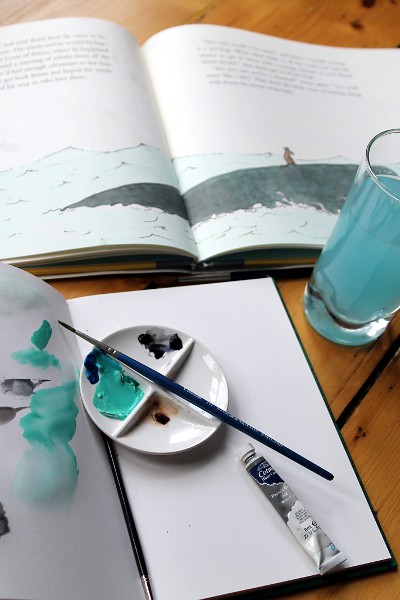

Fabric, even when it’s been pre-washed, absorbs watercolour differently than paper, so play about with a scrap to get used to it. The paint sits on top of the fabric for longer, so there’s time to dab off mistakes with a clean rag, but remember that some of the paint will wash away when you wash it, so err on the dark side (in this instance only).
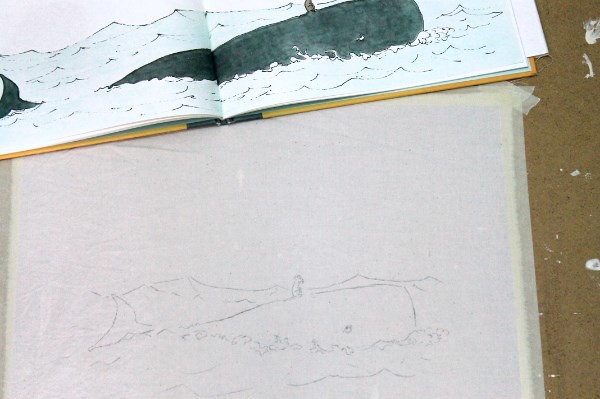

Tape your fabric securely to a firm surface. It takes a few hours for the paint to dry, so make sure you have a flat surface to keep your board on while the paint dries.
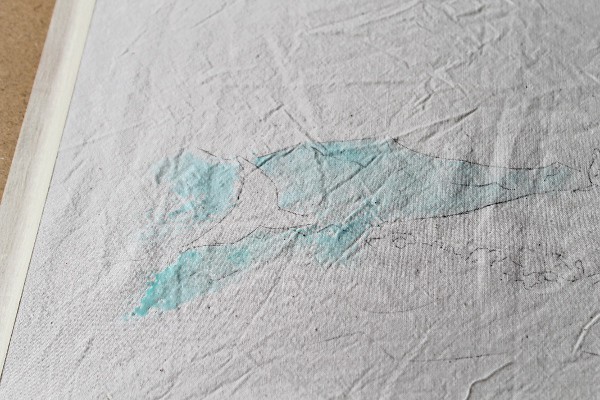
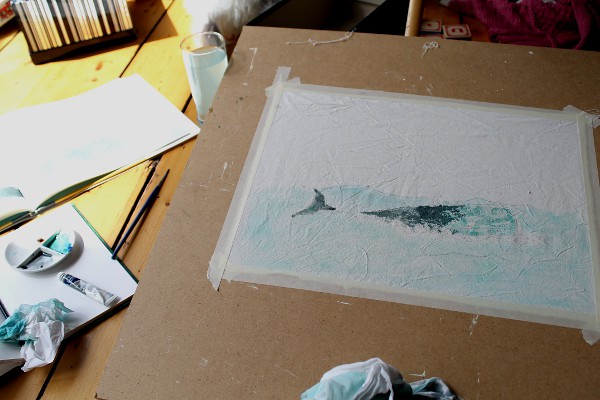
I was surprised at how long it took to cover the surface with paint, so make sure you leave plenty of time and don’t rush yourself.

Set the colours:
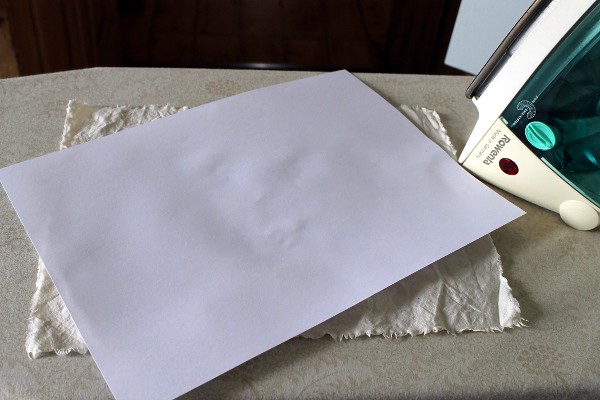
Once the paint dries, iron it to heat-set the colours. Use an iron which is as hot as the fabric allows, but make sure to put a white sheet of paper between your fabric and iron, in case a little paint transfers. (In the interests of science, I have to admit that I haven’t tried a control piece where I didn’t iron the fabric, but fabric paints are generally heat set, so it makes me feel more secure.)

Stitch:

Now it’s time to get the threads out. Play with stitches, thread thickness and colours until you get the feel you’re after. If you’re using a lot of outlines or shading, look closely at how the artist used thickness and direction of marks to ensure you keep the feeling of immediacy that can sometimes be lost in the translation between drawing and embroidery.

One more tip, consider that sometimes a very dark brown, gray or blue will look better than black against the watercolours. Be brave!

Wash, starch and frame:

When you’re done stitching, it’s time to give your piece a wash and a starch before framing it. Use the coldest water you can, add vinegar or salt to the water and if it looks too light in places, you can always touch up the watercolours once the piece is stretched.
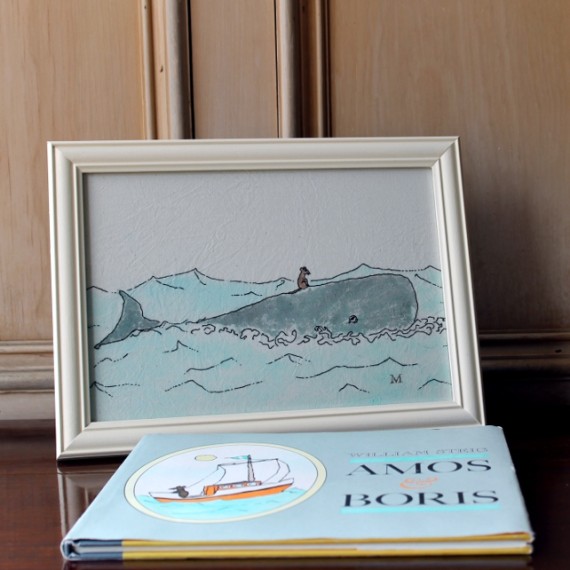
wamos book
I hope you’ve enjoyed this tutorial, I’d love to see any pieces you make with it and please let me know if you have any questions.
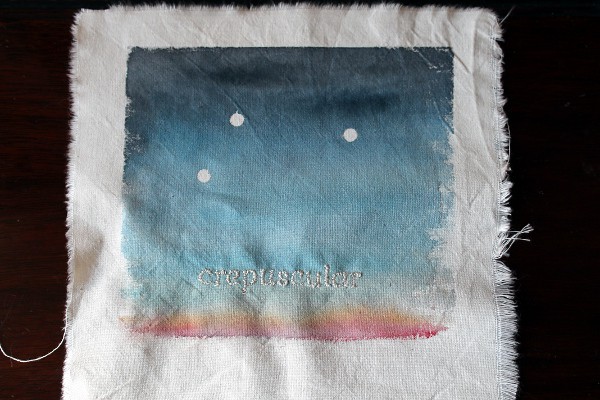
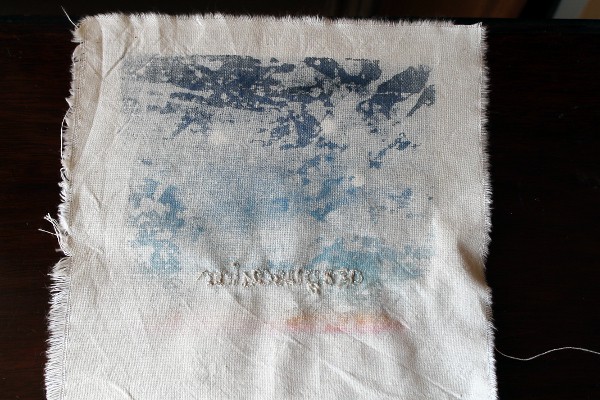
With a New Brush

wamos book

Ever since I made the Amos and Boris piece,

I’ve been itching to try some more watercolour embroideries.

watercolour 5

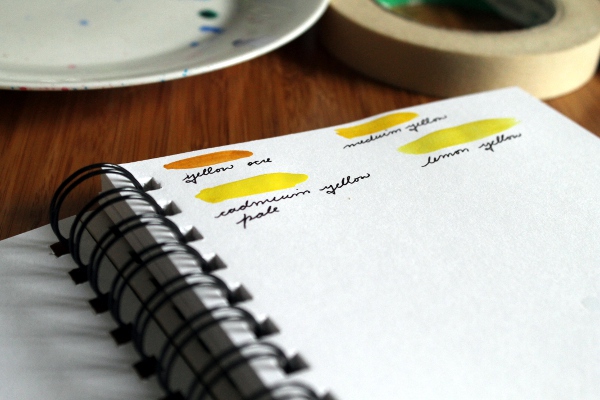
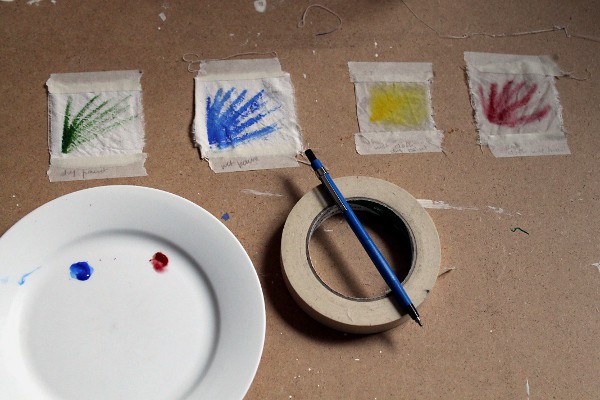
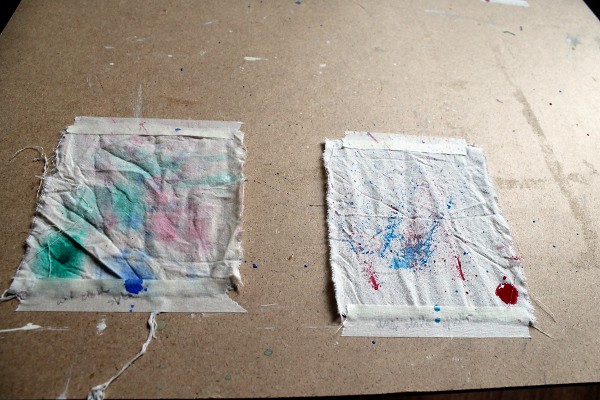
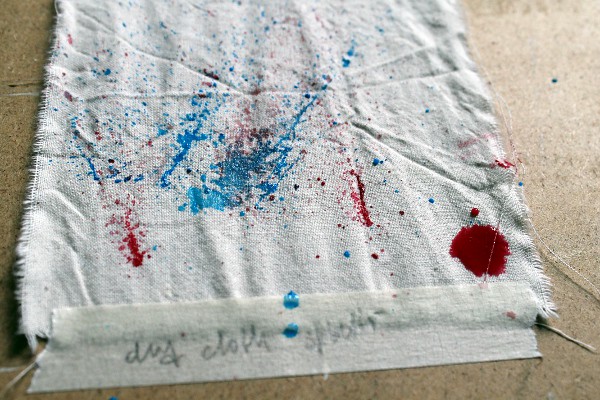
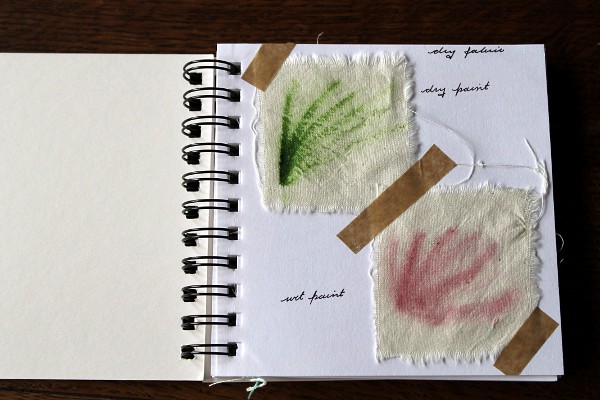
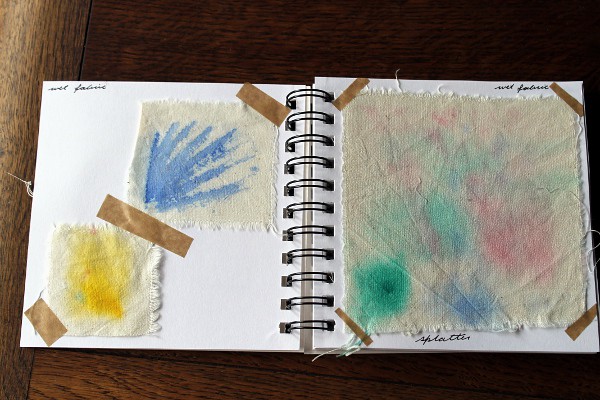
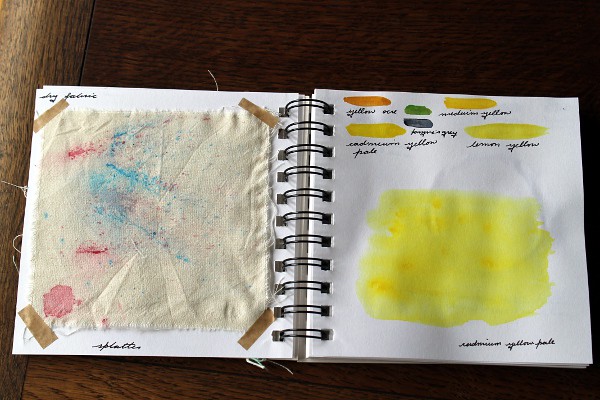
So, with the help of a new sketchbook (naturally), I thought I’d make myself a swatch book and play with some ideas and techniques.

I think my favourite is dry-ish paint on dry fabric. I like the way you see the varying amounts of absorbtion and dilution, a nice contrast from the relatively controlled feeling of the stitching (which is a little absent in these swatches).

So keep your eyes peeled for the next watercolour piece, and a wee tutorial in case you’re inspired to try it yourself.

Eco-friendly Orange Peel Firelighters

Orange peel firelighters - Misericordia 2014

I’m not too sure if this is the right time of year for this tutorial, sandwiched uncomfortably in the painful gap between roaring-fire season and barbeque season, but I think there is still enough citrus fruit in the shops to make it work.

My brother- and sister-in law showed me this trick over the winter and we’ve been using it with great effect (both for our fire and our Vitamin C levels). Since we all love anything eco-friendly, waste-reducing and above all flammable, I thought you might like to join in!

orange

It’s hardly rocket science, peel an orange, satsuma or other citrus fruit (I’ve only tried the orange coloured ones, but I suspect that as long as there’s enough oil in the peel to do the trick below, any citrus fruit will do) peel it and let the peel dry. The peels have quite a lot of moisture, so let them dry in the open somewhere until they’re britttle before putting them into a container (loosely covered if at all) to store.

If you want to muck about further demonstrate the flammable nature of citrus oils, here’s an entertaining trick. Please use all sensible precautions against setting your hair, tablecloth or dining companions alight.

[cvg-video videoId=’1′ width=’400′ height=’400′ mode=’playlist’ /]

These firelighters are a nice intermediate step between paper and kindling, they don’t light with a match, but the entertaining fizz they make really helps the first small pieces catch, in addition to their entertainment value.

Let me know how you get on with them, and especially if you feel that my directorial debut needs to be the start of more video posts!

New Furniture

LYM and I have a bit of a furniture habit. While our compatriots were out buying drinks, going to gigs or updating their wardrobes, we would stray towards the antique shops and charity shops in search of interesting furniture.

Now that I’m trying to get The Hovel back into shape, I was thinking about ways to make a work table. I knew I wanted to stand up to work, and I’ve always quite fancied a plan chest, but I was pretty sure I wouldn’t be able to find one I could afford.

As luck would have it, when our defenses were down after paying for our kitchen, we decided to soothe our souls with a quick swing by an antiques barn.

chest 1

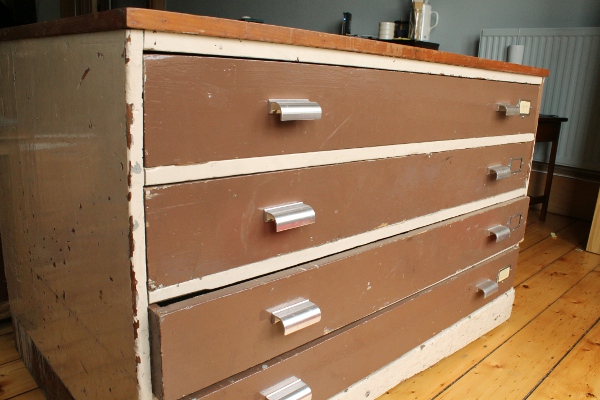
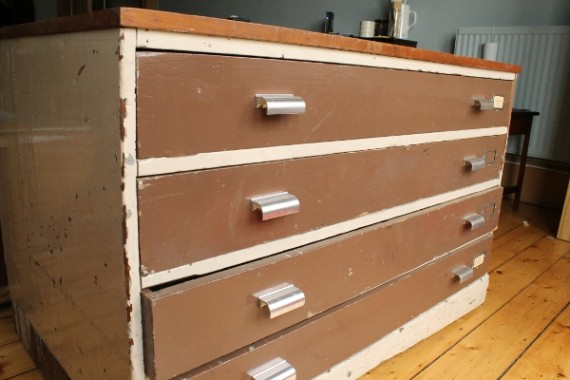
Amongst the things I want but don’t yet have a demonstrable need for we found this!

chest 4

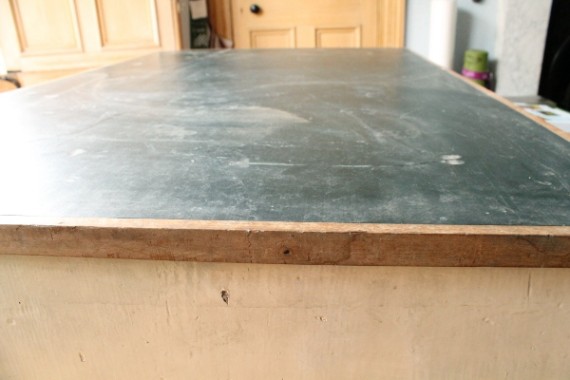
It’s a bit beat up, but it’s solid wood and it has about 17 shades of institutional paint in different places which makes me very happy.

chest 5

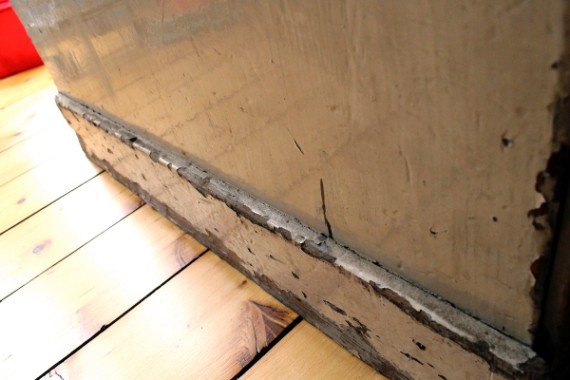
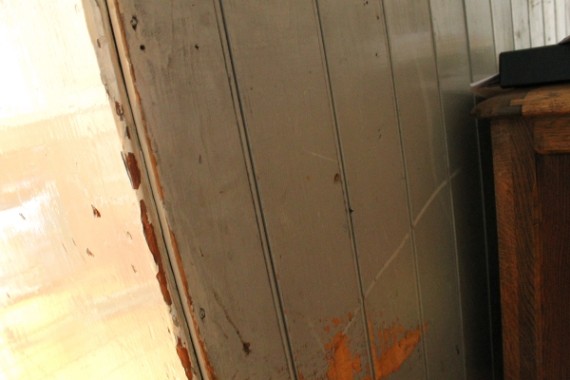
Unfortunately, my favourite shade is going to end up hidden against the wall, but here is photographic proof of its existance.

chest 2

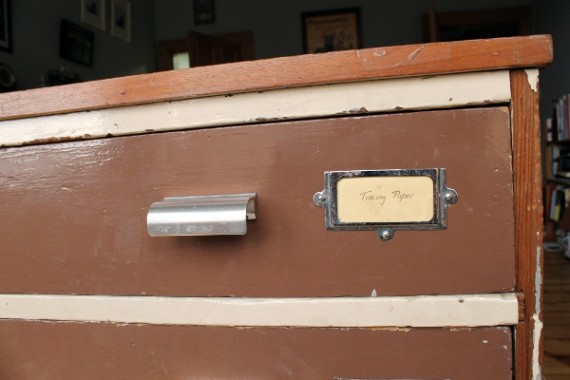
I think I’m going to change the handles and label holders to something a little more interesting and some of the moulding needs replacing or repairing, but I’m really happy with it!

chest 3

I’ll show you it again when it’s all repaired. At the moment it’s living dead in the middle of our bay window as a way to encourage its speedy refurbishment and relocation.


A Little Cooler

A little education is a funny thing…once you learn something it can be very hard to un-learn it.

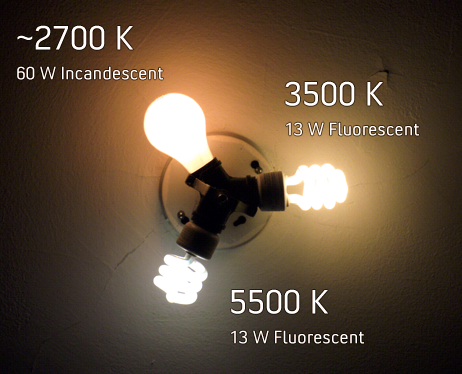
Once you’ve been shown that there is a colour difference between daylight, incandescent and fluorescent lights, not only does it allow you to take better photos, it also starts to play on your mind in other situations.
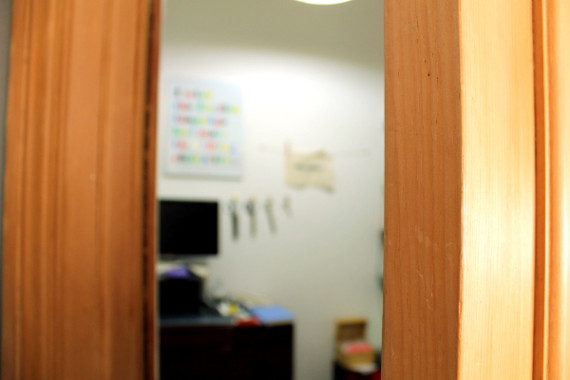
My wee Hovel is a box room and I have to rely on artificial light in there. For most of the time it’s not a problem, it’s a standing-room only kind of a place and I do all my stitching in other places about the house, but sometimes it’s really good to be able to stand back and look at a work in progress.
I made myself a little display area but I was noticing that the light was working against me. So I thought I’d try a daylight bulb and see how it worked.
daylight

I really like it, but it’s taken a bit of getting used to. Especially if the front room light is on, the colour contrast is pretty marked. But it definitely makes it easier to see colours accurately. (I can’t show you what I’m working on just yet, sorry!)

Is your thread colourfast?

I’ve been sewing a long time, and I consider myself fairly au fait with the trials and tribulations which can occur while wielding a needle and thread (having experienced them all at least three times before learning better).

But I did find myself rather aghast when the dark blue thread on a recent piece bled and I had to do the whole thing again!

colourfast title

Changes in the chemicals used to dye thread means that water soluble dyes are more common (good for the environment) and the dyes can bleed or run into surrounding areas while they’re being washed (bad for the stitcher).

So profit from my experience, and before you set off an a grand embroidery adventure try this test.

colourfast 1

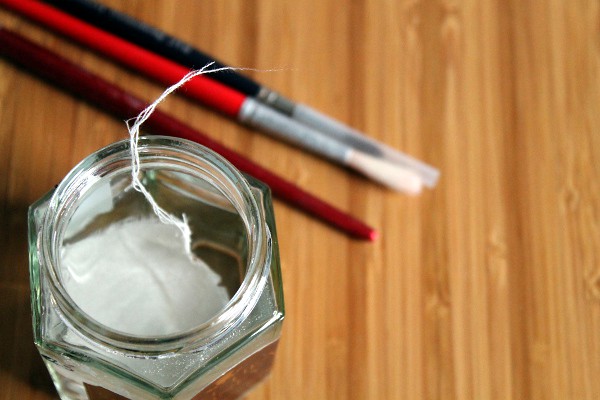
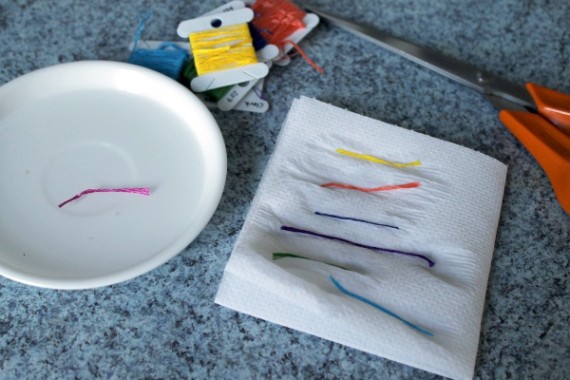
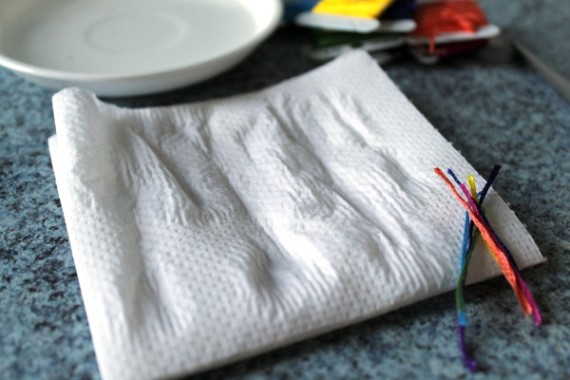
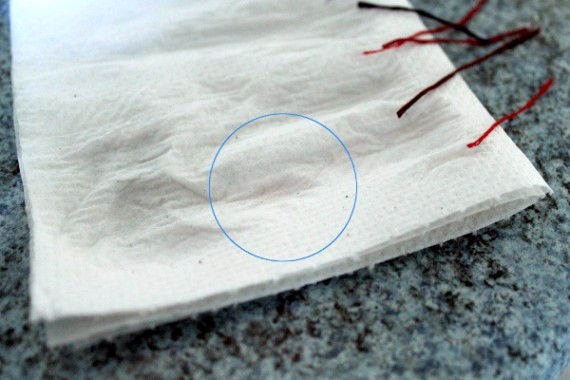
Snip off a short length of thread, dampen it and place on some white kitchen towel to dry. If there is a stain, you can either set the entire skein of thread or adjust your washing techniques accordingly.

colourfast 2

You set the colour by soaking the skein in salt water and then rinsing in lots of cold water until it runs clear. (Various methods include adding the salt to boiling water and letting it cool or adding two tablespoons each of salt and white vinegar to cool water.) Allow the skein to air dry and then use as normal. (Don’t get too cocky once you’ve set your skein, it can still run if you use hot water or steam!)

A few caveats – just because one section of a skein doesn’t run doesn’t mean another part won’t. In general, the deeper and more saturated the colour, the more likely it is to run. Reds, dark blues, dark purples and black are ones to watch out for. Use the test as an indication and then balance the hassle of setting the skein against the frustration of having the thread run.

colourfast 3

Wash your piece in cold water with pH balanced detergent (I throw a little salt and vinegar in, just in case) and rinse. If you do get a run, keep rinsing – you can also run an ice cube on the affected part to help remove the stain.

If you don’t have to wash your piece, don’t! You can also mist it with cold water before pressing for a happy medium.

Have you ever had a problem with running thread dyes? Any fabulous solutions?

Tools: Scissors

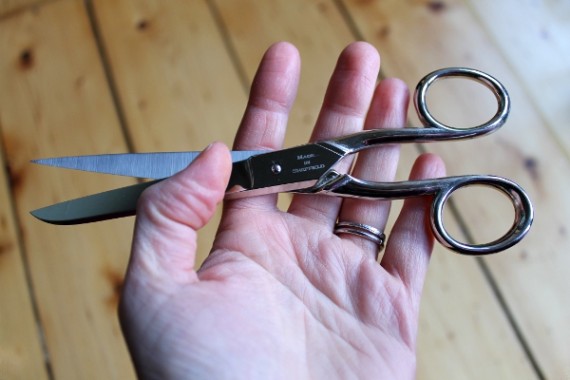
Here’s a test; if I show you my latest tool acquisition, what do you say?

scissors

If the answer is ‘Ooooh!’ or even ‘Squeee!’ than you may be a scissor junkie.

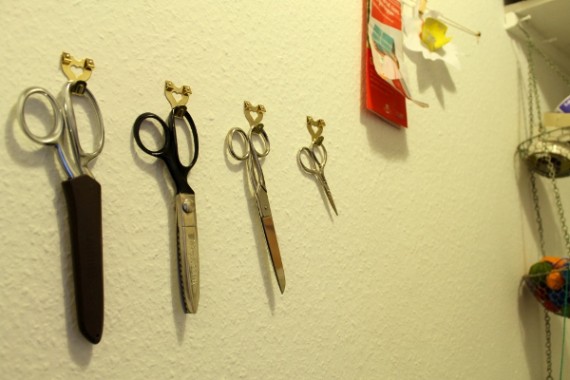
These are going to be my Extra Special, Hands-off-if-you-know-what’s-good-for-you, Don’t-even-think-about-it scissors. I think I’ve trained everyone in the house to beware of my fabric scissors, but just in case, I’ve made myself a little display/storage area for them well out of the reach of wee fingers. (Don’t worry, both Dragon and LYM have their own scissors, I’m not a despot!)

scissors on the wall

I’ve had my eye on these since I saw a photofilm by The Department of Small Works (Nick Hand spoke at the Folksy Summer School) of the cutlers at Ernest Wright & Son. Partly I loved it because it reminded me of the summer when I worked in a sporran factory (yes, I know) and partly it just made me want gorgeous scissors!

The only problem is that they’re so lovely, I’m almost loath to cut with them…

Copyright © 2024 Misericordia

Theme by Anders NorenUp ↑