Category: Tutorials

To A Bodkin

The furniture rearranging continues apace.

Sewing Drawer - Misericordia

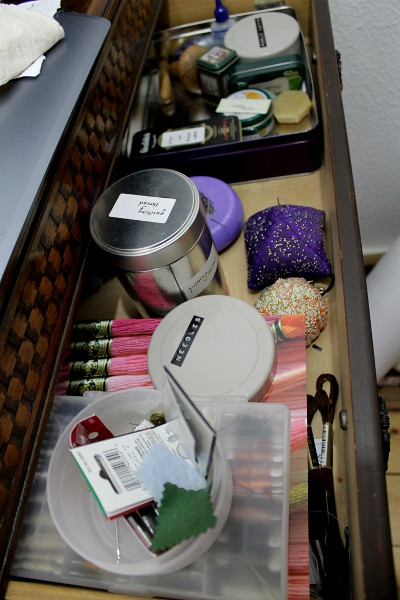
I’ve reordered my supplies by genre rather than work/not-work and realised that I had only been using the front half of my plan chest drawers. (I suppose that’s part of the challenge of a large drawer in a small space!)

Drawing Drawer - Misericordia

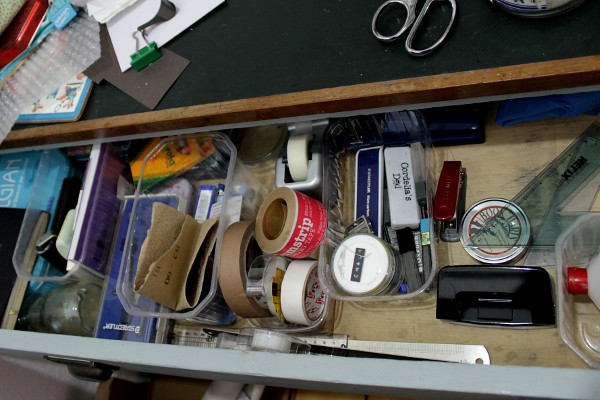
With the liberal application of hoarded fruit punnets and clicky-sticky tape, I’m slowly bringing a bit of order to things (no clear flat surfaces though, let’s not be too hasty).

Corded rouleau - Misericordia

I’m still itching to draw rather than sew, which hopefully explains the slow progress on anything involving a needle and thread (no matter how beautifully organised). I did get a bodkin out, which is always pleasing. I’ve been playing with corded rouleau to use as stems for the Ark Project tablecloth, and it’s been unnecessarily difficult.

Bodkin - Misericordia

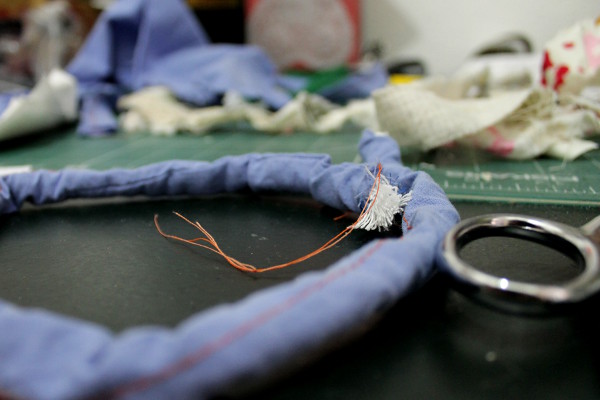
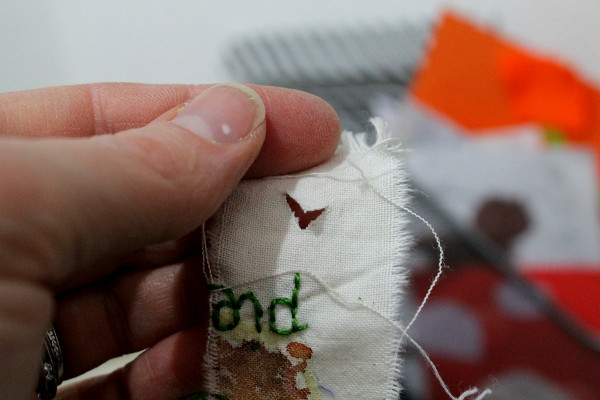
In the end I’ve settled on turning the loops empty and then threading it with a homemade cord made of scrap fabric. I’ve managed to streamline the production so much that I’ve stopped cutting holes into the ends of the fabric in favour of slits so I don’t have to put the wee flappy pieces in the bin.

Corded rouleau with recycled padding - Misericordia

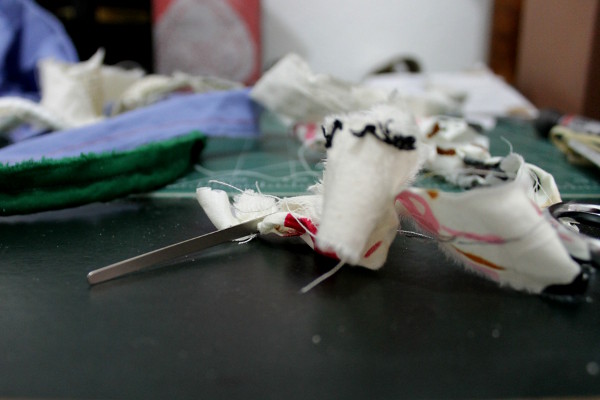
I’ve become very callous and started to cut up abandoned or unsold embroidery. I just don’t seem to have the energy spare to deal with shuffling it around or looking after it.

Recycled cording for padded rouleaux - Misericordia

I wish I could say it was helping me get more work done, but it’s been mainly infinitesimal updates to various baby books, half rows of knitting, and a pleasant return to regular Pilates sessions.

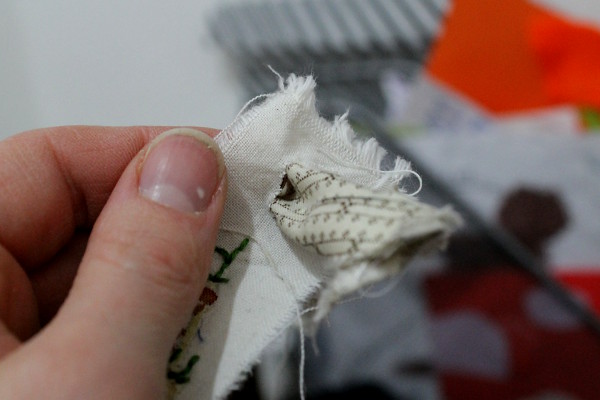
Recycle scrap fabric into yarn - Misericordia

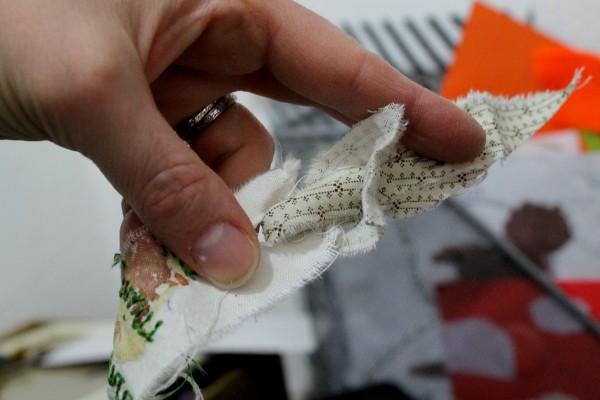
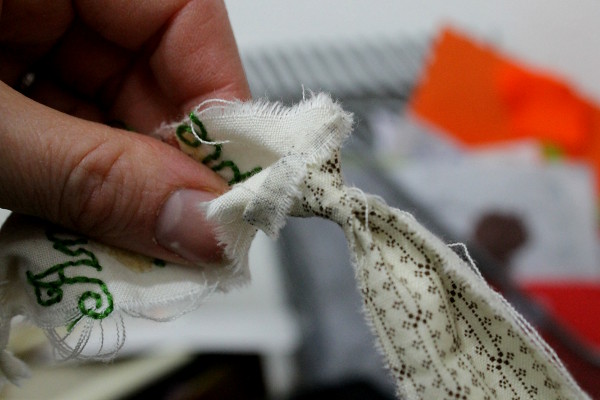
This is my favourite bit of the cord-making process, when you pull the two ends and they lock together. I’m not sure what the emotional equivalent is, but I’ll let you know when I find it.

Use fabric scraps to make corded padding - Misericordia

Seeping Through the Cracks

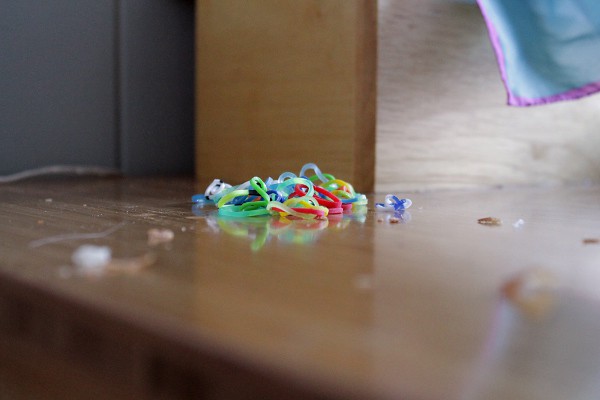
It’s half term, and we’ve reached maximum entropy.

Loom Band Entropy - Misericordia

I have very little to show for myself since last week apart from a small but significant gusset for LYM’s jumper, some rather decadent cake and a half-written blog post about flapjacks.

Knitted underarm gusset - Misericordia

We are a broad-shouldered family, so I suspect that the adding of gussets will become a useful skill for me. I have a small pile of bought clothes which could do with the addition of a little more room in the oxter department, so this will be the first of many. I used this TECHknitting tutorial, which was quite helpful and also provided a chance to learn a few more decreasing and i cord-making skills.

Knitted underarm gusset - Misericordia

Have you noticed that all of my cake photography is half-eaten?

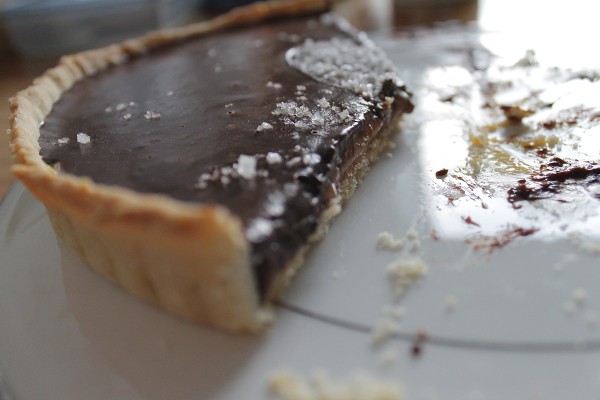
Chocolate and salted caramel tart - Misericordia

This was one of those dinner party desserts that look desperately complicated but really aren’t. Blind bake a shortcrust case (I added a little sugar to Delia’s recipe), when cool pour over some salted caramel sauce. (I had a jar of caramel sauce left over from Shrove Tuesday, but it had the same ingredients as most of the recipes I’ve seen online). Allow to cool and make ganache. Allow to cool and pour over while still just runny. I had some leakage where my pastry case wasn’t quite chocolate-tight, but no one seemed to mind!

Sprinkle with a little more sea salt if desired and serve in very small slivers with blood oranges.

If you’re crawling to the end of half-term, I wish you the best of luck.


An Illustration in Watercolour and Embroidery

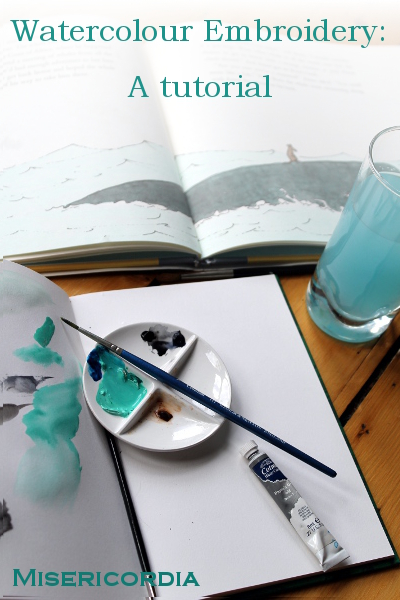
I thought I’d put together a tutorial showing you how to use watercolour with embroidery. I used this technique to make a present for my dad and I enjoyed it so much that it will shortly be making an appearance in more of my work.

As a starter for ten (as they say), I copied an illustration so I only had to think about being faithful to the original, rather than worrying about composition and colours and balance.

Choose your image:
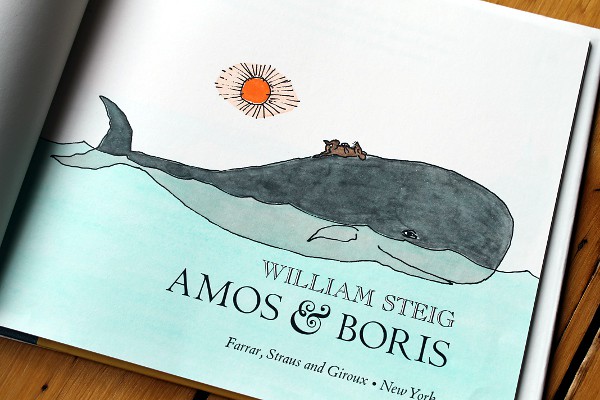
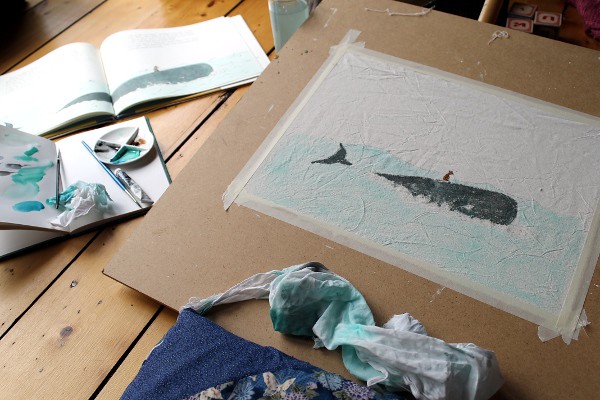
I chose the William Steig illustration from Amos and Boris below. It had a lovely wash-y sea and not too many colours to work with. I also thought that I could recreate the skips and skitters of the pen marks in embroidery quite effectively.

Trace:
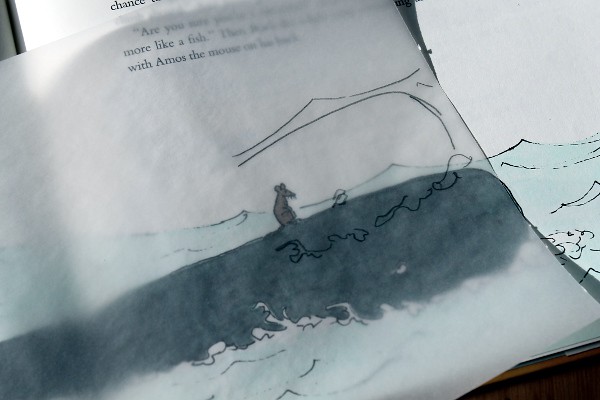
Work out how you’re going to present your piece when it’s finished. I framed mine, which gave me an idea of the size it needed to be. Watercolour doesn’t stand up to frequent washing, so keep the item’s final use in mind (not so good for a baby blanket). I had to make some adjustments to the illustration so that it would fit into the frame, but the nice thing about working onto tracing paper is that you can try things out before you commit to drawing the final lines.

Copy onto fabric:
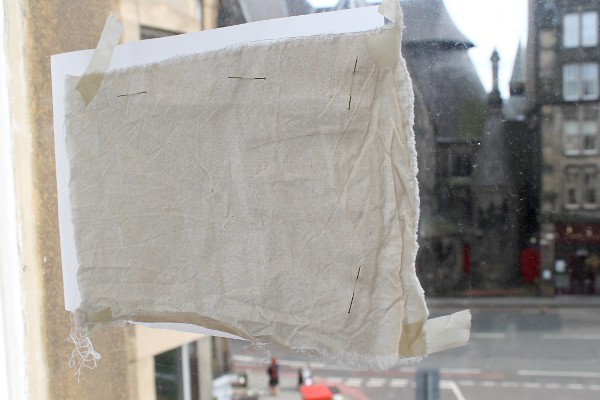
I use a super high-tech method for transferring my designs onto fabric. Pin your fabric to the front of your paper (if you used pencil, it’s a good idea to go over the lines with a dark pen). Tape the fabric and paper to a window and trace in light pencil, stopping for a rest when your arms go numb.

Mix your colours:

For this piece I pre-mixed my colours, I knew I had a lot of sea to colour and I didn’t want to end up with half the piece a slightly different shade than the other. I was also a little worried about getting just the right colour of sea-turquoise.
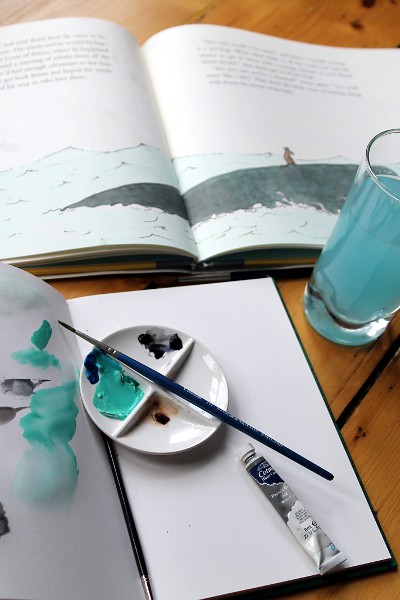

Fabric, even when it’s been pre-washed, absorbs watercolour differently than paper, so play about with a scrap to get used to it. The paint sits on top of the fabric for longer, so there’s time to dab off mistakes with a clean rag, but remember that some of the paint will wash away when you wash it, so err on the dark side (in this instance only).
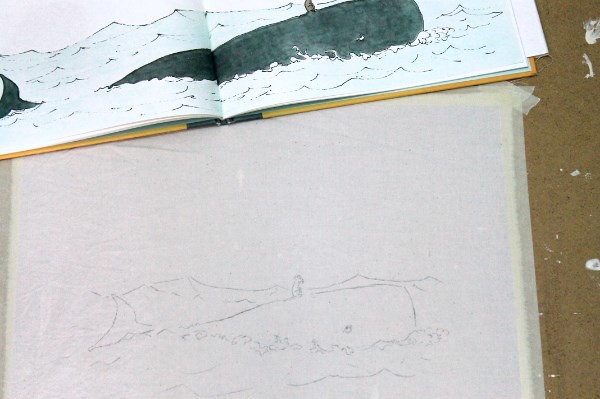

Tape your fabric securely to a firm surface. It takes a few hours for the paint to dry, so make sure you have a flat surface to keep your board on while the paint dries.
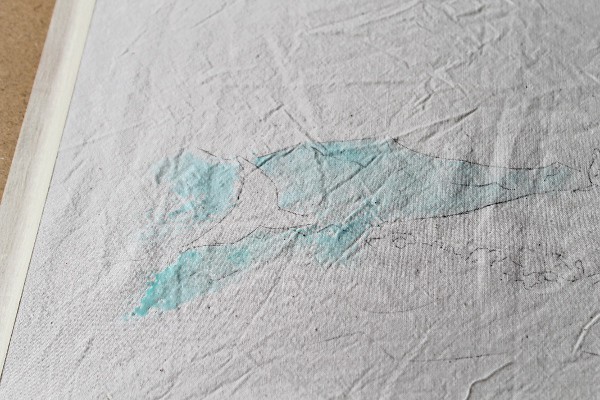
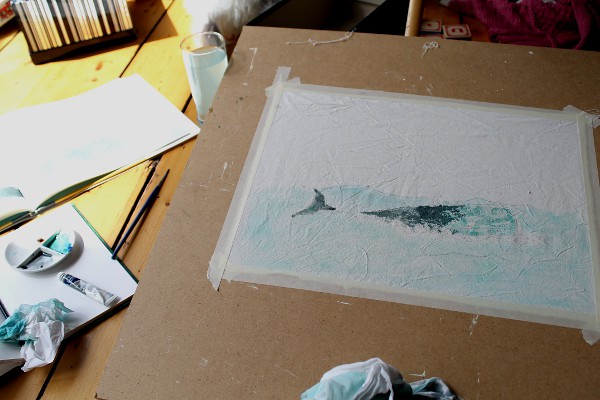
I was surprised at how long it took to cover the surface with paint, so make sure you leave plenty of time and don’t rush yourself.

Set the colours:
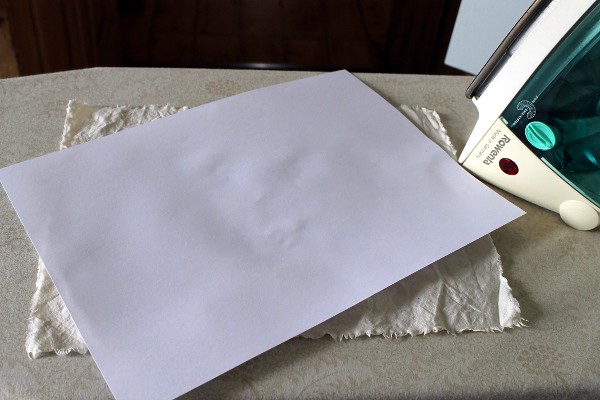
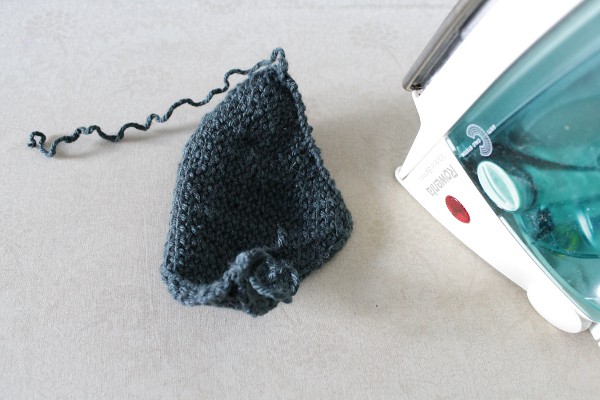
Once the paint dries, iron it to heat-set the colours. Use an iron which is as hot as the fabric allows, but make sure to put a white sheet of paper between your fabric and iron, in case a little paint transfers. (In the interests of science, I have to admit that I haven’t tried a control piece where I didn’t iron the fabric, but fabric paints are generally heat set, so it makes me feel more secure.)

Stitch:

Now it’s time to get the threads out. Play with stitches, thread thickness and colours until you get the feel you’re after. If you’re using a lot of outlines or shading, look closely at how the artist used thickness and direction of marks to ensure you keep the feeling of immediacy that can sometimes be lost in the translation between drawing and embroidery.

One more tip, consider that sometimes a very dark brown, gray or blue will look better than black against the watercolours. Be brave!

Wash, starch and frame:

When you’re done stitching, it’s time to give your piece a wash and a starch before framing it. Use the coldest water you can, add vinegar or salt to the water and if it looks too light in places, you can always touch up the watercolours once the piece is stretched.
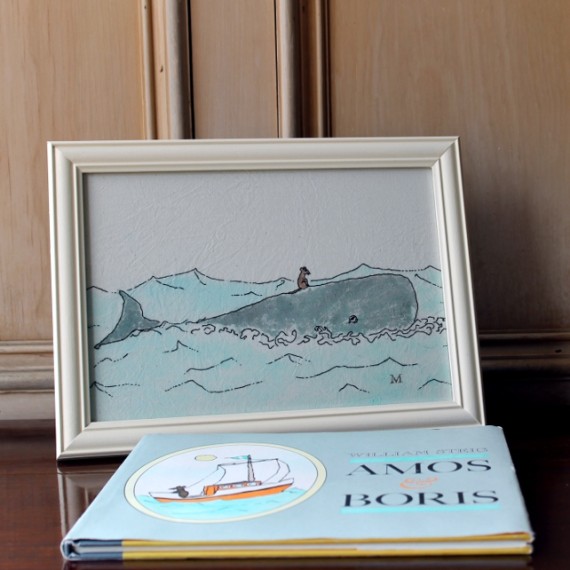
wamos book
I hope you’ve enjoyed this tutorial, I’d love to see any pieces you make with it and please let me know if you have any questions.
Eco-friendly Orange Peel Firelighters

Orange peel firelighters - Misericordia 2014

I’m not too sure if this is the right time of year for this tutorial, sandwiched uncomfortably in the painful gap between roaring-fire season and barbeque season, but I think there is still enough citrus fruit in the shops to make it work.

My brother- and sister-in law showed me this trick over the winter and we’ve been using it with great effect (both for our fire and our Vitamin C levels). Since we all love anything eco-friendly, waste-reducing and above all flammable, I thought you might like to join in!

orange

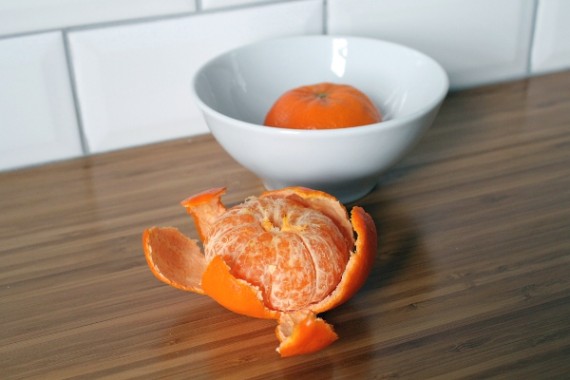
It’s hardly rocket science, peel an orange, satsuma or other citrus fruit (I’ve only tried the orange coloured ones, but I suspect that as long as there’s enough oil in the peel to do the trick below, any citrus fruit will do) peel it and let the peel dry. The peels have quite a lot of moisture, so let them dry in the open somewhere until they’re britttle before putting them into a container (loosely covered if at all) to store.

If you want to muck about further demonstrate the flammable nature of citrus oils, here’s an entertaining trick. Please use all sensible precautions against setting your hair, tablecloth or dining companions alight.

[cvg-video videoId=’1′ width=’400′ height=’400′ mode=’playlist’ /]

These firelighters are a nice intermediate step between paper and kindling, they don’t light with a match, but the entertaining fizz they make really helps the first small pieces catch, in addition to their entertainment value.

Let me know how you get on with them, and especially if you feel that my directorial debut needs to be the start of more video posts!

Is your thread colourfast?

I’ve been sewing a long time, and I consider myself fairly au fait with the trials and tribulations which can occur while wielding a needle and thread (having experienced them all at least three times before learning better).

But I did find myself rather aghast when the dark blue thread on a recent piece bled and I had to do the whole thing again!

colourfast title

Changes in the chemicals used to dye thread means that water soluble dyes are more common (good for the environment) and the dyes can bleed or run into surrounding areas while they’re being washed (bad for the stitcher).

So profit from my experience, and before you set off an a grand embroidery adventure try this test.

colourfast 1

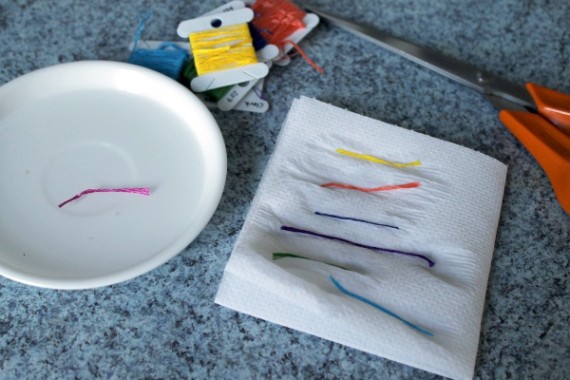
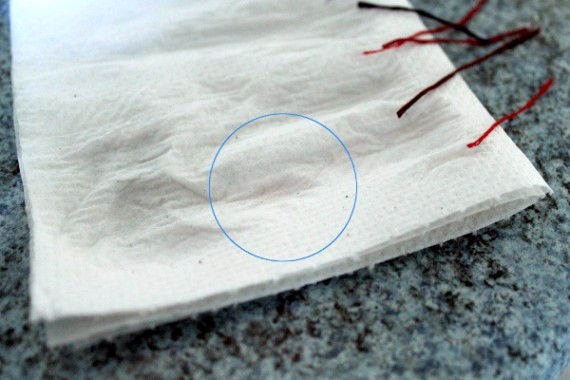
Snip off a short length of thread, dampen it and place on some white kitchen towel to dry. If there is a stain, you can either set the entire skein of thread or adjust your washing techniques accordingly.

colourfast 2

You set the colour by soaking the skein in salt water and then rinsing in lots of cold water until it runs clear. (Various methods include adding the salt to boiling water and letting it cool or adding two tablespoons each of salt and white vinegar to cool water.) Allow the skein to air dry and then use as normal. (Don’t get too cocky once you’ve set your skein, it can still run if you use hot water or steam!)

A few caveats – just because one section of a skein doesn’t run doesn’t mean another part won’t. In general, the deeper and more saturated the colour, the more likely it is to run. Reds, dark blues, dark purples and black are ones to watch out for. Use the test as an indication and then balance the hassle of setting the skein against the frustration of having the thread run.

colourfast 3

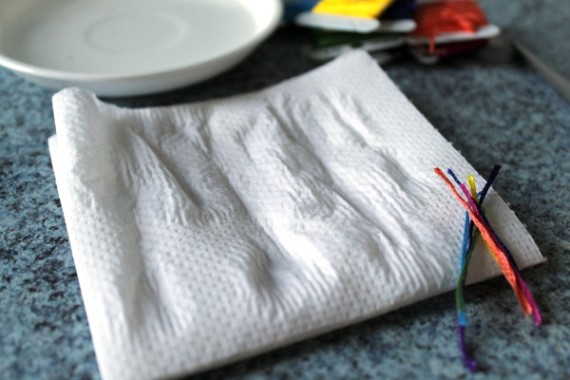
Wash your piece in cold water with pH balanced detergent (I throw a little salt and vinegar in, just in case) and rinse. If you do get a run, keep rinsing – you can also run an ice cube on the affected part to help remove the stain.

If you don’t have to wash your piece, don’t! You can also mist it with cold water before pressing for a happy medium.

Have you ever had a problem with running thread dyes? Any fabulous solutions?

Copyright © 2024 Misericordia

Theme by Anders NorenUp ↑